How to Set Up a Tent: Step-by-Step Instructions
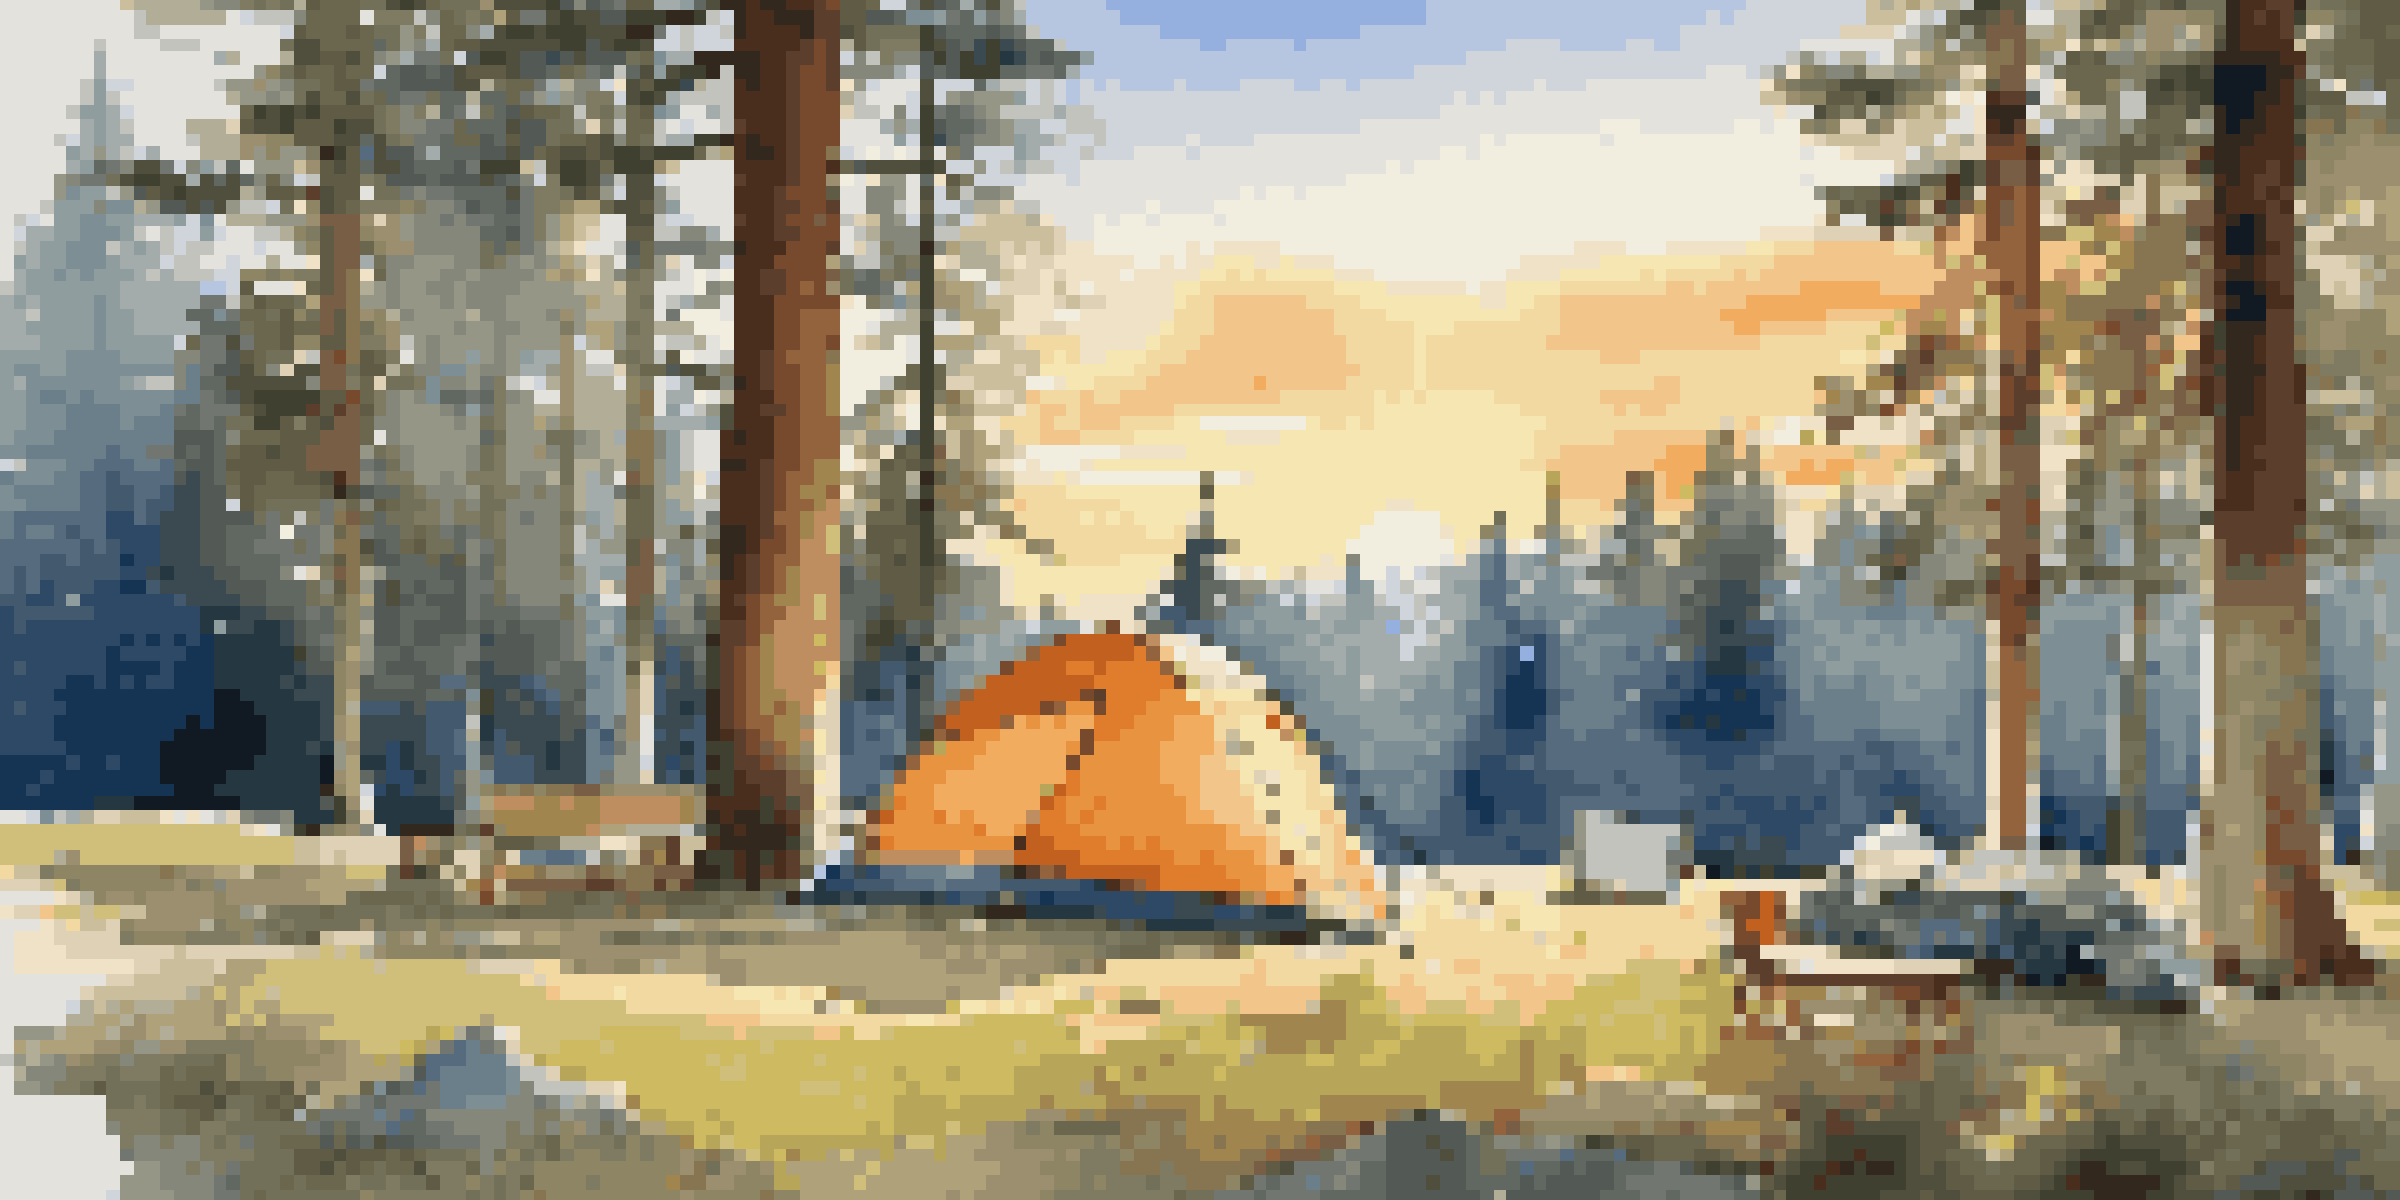
Choosing the Right Location for Your Tent
Before you start pitching your tent, it's essential to choose the right spot. Look for a flat, dry area that’s away from potential hazards like falling branches or water runoff. A clear space not only makes setting up easier but also ensures your comfort throughout the night.
The best place to cry is on a mother's arms.
Consider the direction of the wind and the position of the sun. Setting your tent so that the entrance faces away from the wind can help keep you cozy, while positioning it to catch the morning sun can provide a warm wake-up.
Lastly, avoid areas with sharp rocks or uneven ground. These can make for a restless night, and nobody wants to wake up sore from a lumpy sleeping surface!
Gathering Your Tent Setup Supplies
Now that you have a location, it’s time to gather your supplies. Most tents come with a rainfly, stakes, guylines, and a ground tarp. Having everything organized will streamline the setup process and prevent any last-minute scrambling.

Don't forget to bring a mallet or rock for driving in the stakes, as well as a flashlight or headlamp for visibility during setup, especially if you're arriving late in the day. It’s also a good idea to carry a multi-tool for any unexpected adjustments.
Choose the Right Spot
Selecting a flat, dry area away from hazards ensures a comfortable camping experience.
Lastly, check your tent for any missing parts before you head out. There’s nothing worse than finding out you’re short on stakes or the rainfly is missing when you’re ready to set up!
Unpacking and Laying Out Your Tent
With your supplies in hand, unpack your tent components on the ground tarp. Spread everything out so you can easily see what you have. This step is crucial for making sure you don’t miss any pieces, especially if you have multiple tents or camping gear.
The greatest glory in living lies not in never falling, but in rising every time we fall.
Identify the tent body, poles, and any additional components like the rainfly. Lay the tent body out flat, ensuring that the doors are positioned the way you want them to face. It’s like laying the foundation for your cozy camping home!
Finally, make sure there’s no debris underneath the tent. A clean area will help protect the tent fabric from damage and ensure a more comfortable sleep.
Assembling the Tent Poles
Next up, it’s time to assemble the tent poles. Most tent poles are designed to be easily connected, often using shock cords. Simply pull the poles apart and fit them together until you hear a satisfying click; this step is usually quite straightforward.
If your tent has multiple poles, refer to the instructions to know which poles go where. It can be tempting to guess, but having the right poles in the right places will ensure your tent stands sturdy against the elements.
Organize Your Setup Supplies
Having all necessary supplies ready streamlines the tent setup process and prevents last-minute issues.
Once you’ve assembled the poles, lay them alongside the tent body. This way, you’ll be ready to insert them into the corresponding sleeves or clips on the tent, keeping the workflow smooth.
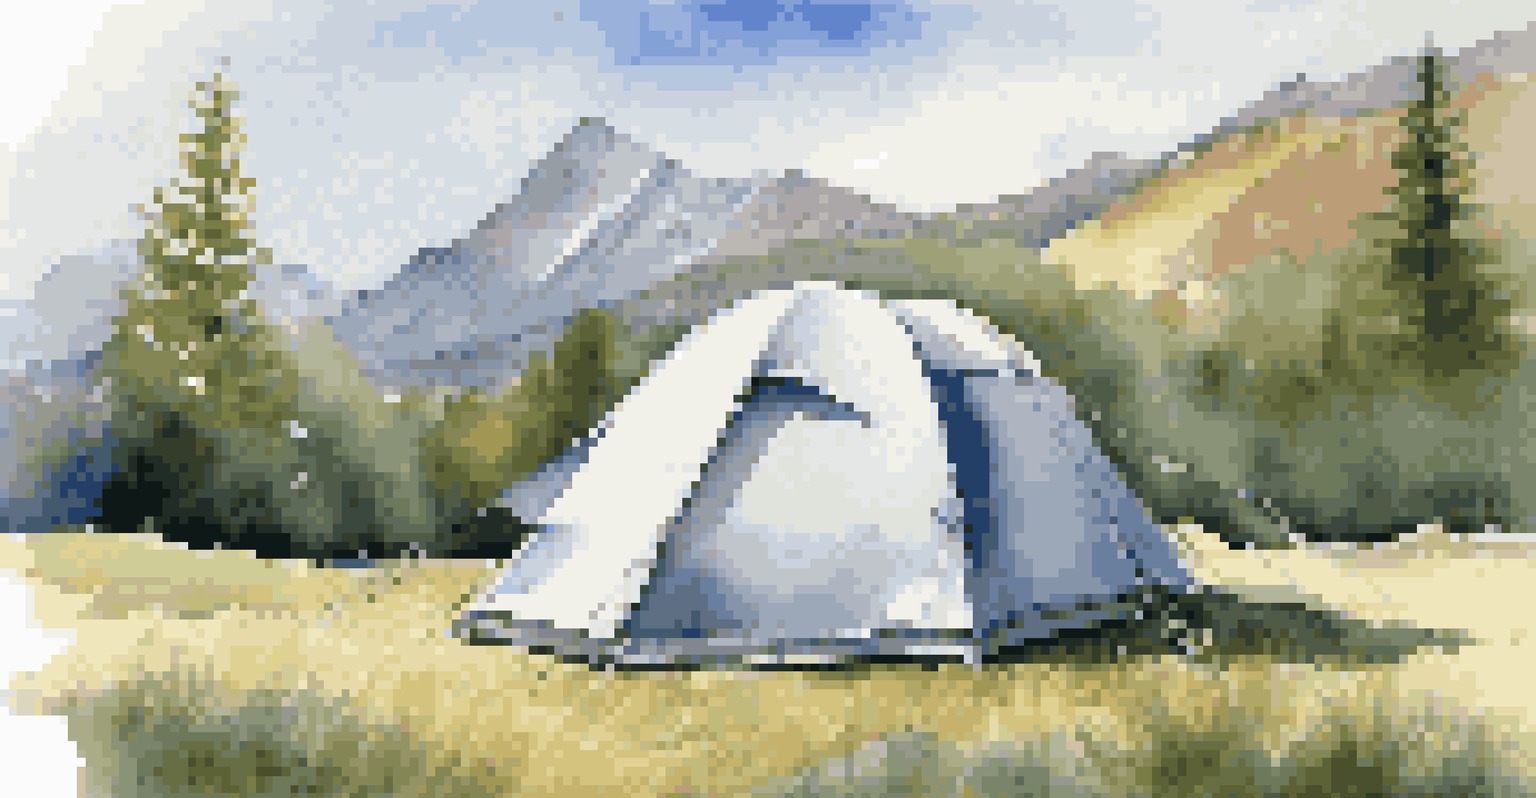
Inserting Poles into the Tent
Now comes the exciting part: it's time to insert the poles into the tent! Start by sliding the poles through the sleeves or attaching them to the clips, depending on your tent design. This step helps give your tent its shape and structure.
Make sure to work gently but firmly to avoid bending the poles. If you encounter resistance, double-check that you're using the correct pole for the right section of the tent.
Once all the poles are in place, you should see your tent start to take shape. This is a great moment to step back and admire your handiwork!
Securing Your Tent with Stakes
With the tent now standing, it’s time to secure it with stakes. Drive the stakes into the ground at a 45-degree angle away from the tent. This technique provides better stability against wind and keeps your tent firmly anchored.
Don’t forget to stake out the guylines, if your tent has them. These lines help provide additional tension and support, especially in windy conditions. Just remember to keep them taut but not overly tight.
Secure Your Tent Properly
Using stakes and guylines effectively stabilizes your tent and enhances protection against the elements.
Lastly, check that all corners of the tent are staked down securely. A well-secured tent will not only protect you from the elements but also enhance your overall camping experience!
Adding the Rainfly and Final Touches
If your tent comes with a rainfly, it’s time to add it for extra protection. The rainfly acts like a shield against moisture and can help regulate temperature inside the tent. Make sure to attach it according to the instructions, ensuring it covers the entire tent body.
After securing the rainfly, it’s a good idea to check for any gaps where rain could sneak in. Adjust the fly as needed to create a snug fit, ensuring a dry and comfortable shelter.
Finally, take a moment to step back and admire your setup! Add any final touches, such as placing your gear inside or setting up a cozy sitting area outside, and enjoy the fruits of your labor.