Editing Travel Photos: Techniques for a Professional Look

Understanding the Basics of Photo Editing
Before diving into editing techniques, it’s important to grasp the fundamentals of photo editing. This involves knowing the tools available in software like Adobe Lightroom or Photoshop. Understanding how to adjust brightness, contrast, and saturation can significantly enhance your images. Think of these adjustments as giving your photos a fresh coat of paint – they can completely change the mood and feel of your travel memories.
Photography is the story I fail to put into words.
Moreover, familiarizing yourself with the editing interface can save you time and frustration. Spend a little time experimenting with different tools and settings, so you feel comfortable navigating through your options. It’s like learning to ride a bike; once you get the hang of it, you can focus on enjoying the ride rather than worrying about balance.
Finally, remember that editing is a personal journey. Each photographer has a unique style, and it’s essential to find what resonates with you. Don’t be afraid to try new things and develop your aesthetic; this will make your travel photos stand out and reflect your perspective.
Cropping for Impact: Framing Your Photos
Cropping is one of the simplest yet most effective editing techniques you can employ. By removing unnecessary elements from the frame, you can draw attention to the subject of your photo. Imagine you have a breathtaking landscape shot, but there's an uninteresting foreground cluttering the view; cropping can help emphasize the beauty of the scenery.
Additionally, consider the aspect ratio when cropping. Different formats can evoke different feelings; for instance, a square crop can give a modern feel, while a wide crop might enhance the vastness of a landscape. Think of it like choosing the right canvas for a painting – the format can influence how the viewer perceives your work.
Master Basic Editing Techniques
Understanding tools like brightness and contrast can transform your travel photos into stunning visuals.
Lastly, don’t forget about the rule of thirds. This compositional guideline suggests dividing your image into a 3x3 grid and placing points of interest along those lines. Using this technique can make your photos feel more balanced and aesthetically pleasing, almost like composing a piece of music.
Adjusting Exposure and Contrast: Finding Balance
Exposure and contrast adjustments are crucial for making your travel photos pop. Exposure refers to the brightness of your photo, and adjusting it can help reveal details lost in shadows or highlights. If a photo is too dark, it’s like trying to read a book with the lights off – you just can’t see the story.
Editing is the art of making photographs better.
On the other hand, contrast enhances the distinction between light and dark areas in your image. Think of it as a spice for your meal; just the right amount can elevate the flavors, but too much can overpower everything else. A well-balanced contrast can add depth and drama to your photos, making them more visually engaging.
When adjusting these settings, use your eyes as a guide. Zoom in on details, and don’t hesitate to toggle back and forth to see the differences. This practice will not only refine your editing skills but also sharpen your eye for photography.
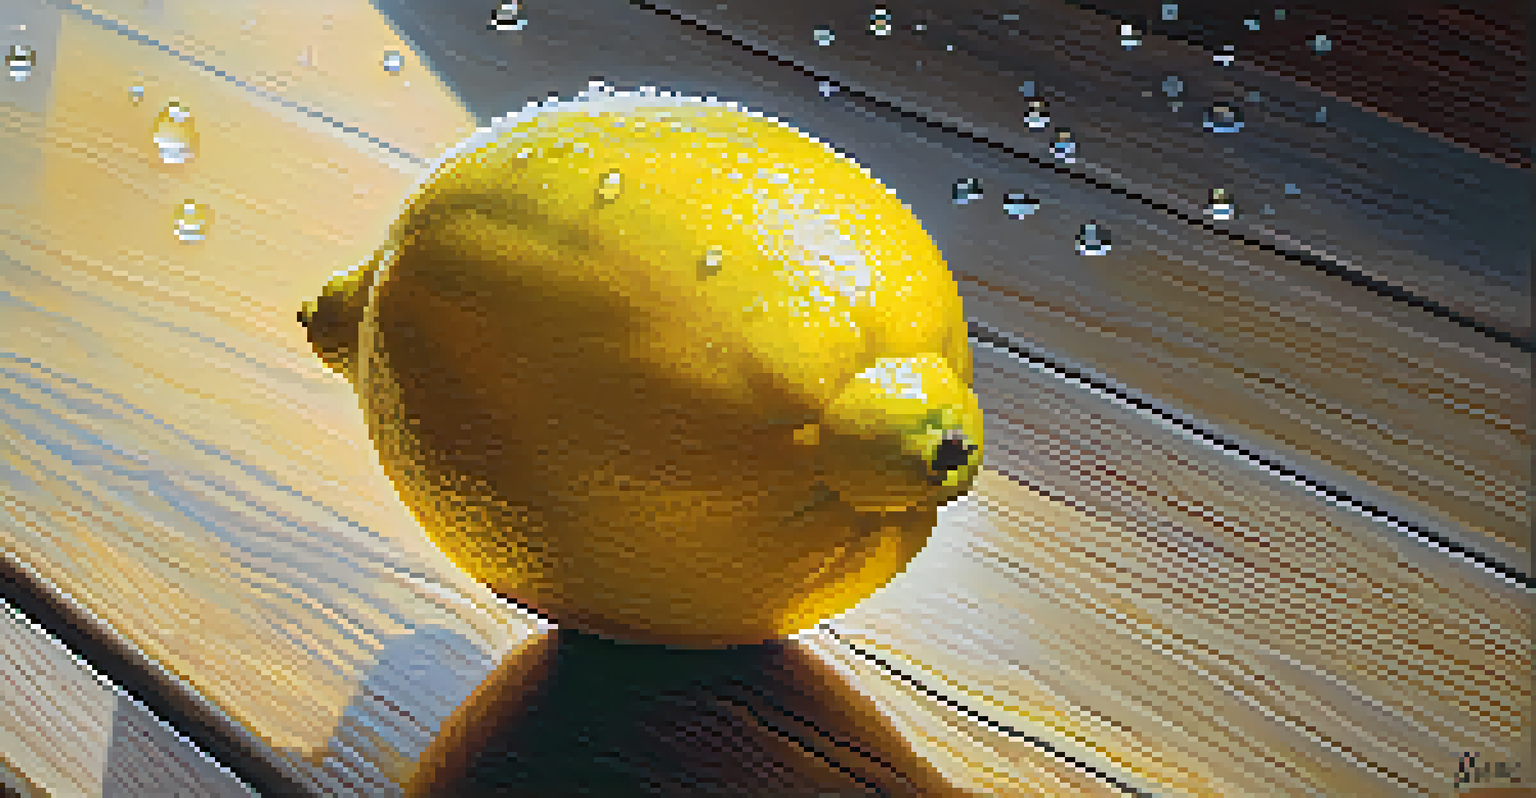
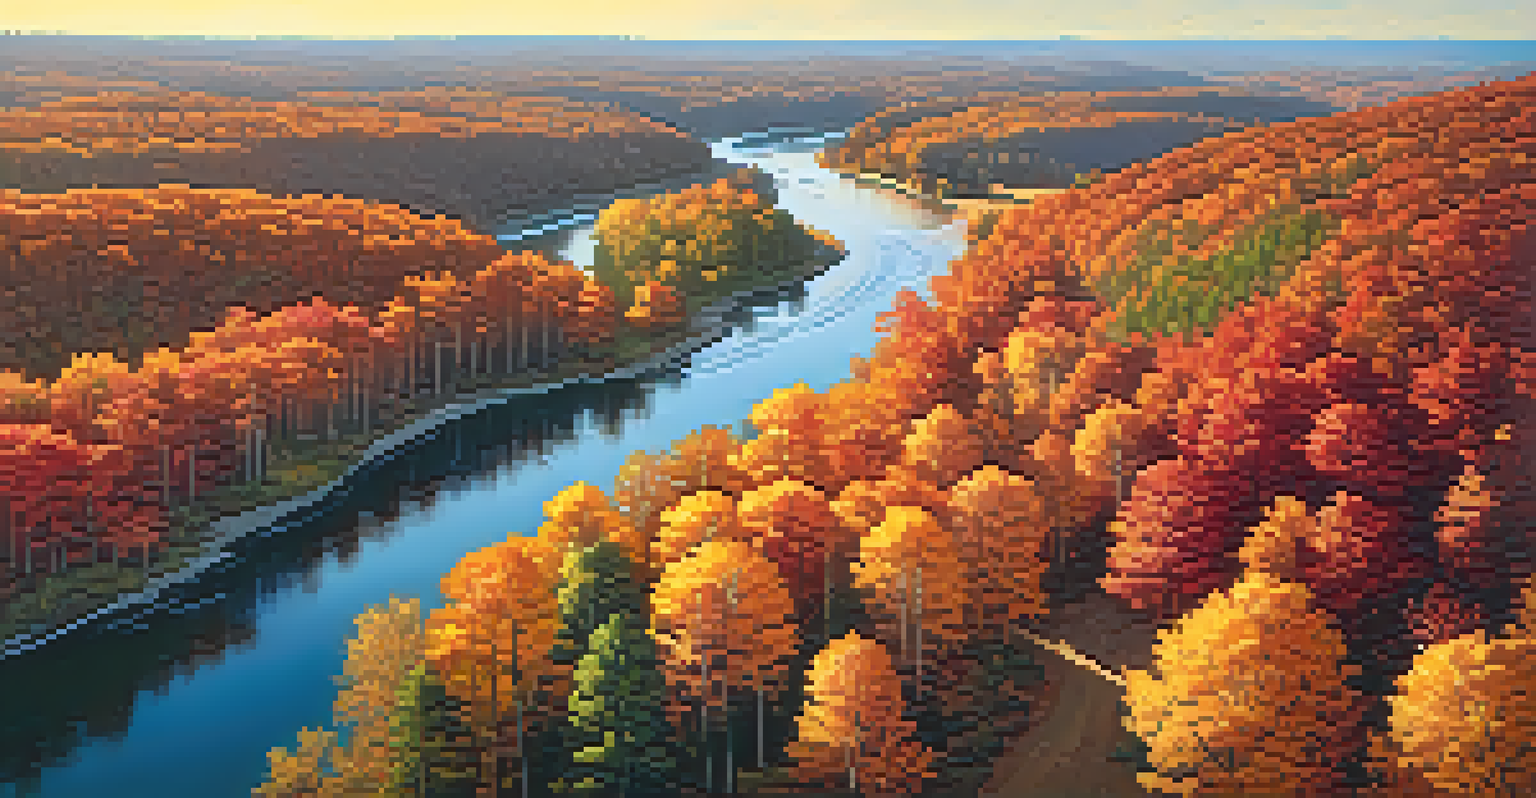
Color Correction: Making Your Images Shine
Color correction is essential for achieving a polished look in your travel photos. This process involves adjusting the colors in your images to make them more vibrant and true to life. Imagine capturing a stunning sunset, only to realize the colors look dull – color correction can revive that beautiful palette.
Tools like the HSL (Hue, Saturation, Lightness) sliders allow you to fine-tune specific colors in your photo. You can emphasize the blue of the ocean or the warmth of the sunset, ensuring that your image reflects the experience you had. It’s akin to mixing paints on a palette until you find the perfect shade for your masterpiece.
Utilize Cropping for Focus
Effective cropping can enhance your photos by highlighting the main subject and improving composition.
Lastly, utilizing filters can also enhance your color correction efforts. Many editing programs offer presets that can give your photos a distinct look with just one click. However, it’s essential to use these filters judiciously; the goal is to enhance, not to overpower.
Sharpening Images: Adding Definition
Sharpening is a technique that can give your travel photos that professional edge. It enhances the details and textures in your images, making them appear crisper and more defined. Think of it as polishing a gem; a little sharpening can bring out the beauty that’s already there.
However, moderation is key here. Over-sharpening can create unnatural artifacts that detract from the overall quality of your photo. It’s a balancing act; like seasoning a dish, you want to enhance flavors without overwhelming them.
When sharpening, focus on the important elements of your photo. For instance, if you have a portrait, you might want to sharpen the eyes and facial features while leaving the background softer. This technique can help guide the viewer's attention where you want it most.
Using Presets and Filters: Quick Enhancements
Presets and filters can be a lifesaver when you’re short on time but still want to achieve a professional look. They allow you to apply a series of edits with a single click, streamlining your workflow. It’s like having a magic wand that transforms your photos instantly, giving them a cohesive style.
Many editing programs come with built-in presets, and you can also find various options online that cater to specific styles. Whether you’re aiming for a moody aesthetic or a bright, airy feel, there’s likely a preset that fits your vision. Just be careful; relying too heavily on presets can lead to a lack of personal touch in your images.
Final Touches Enhance Photos
Adding subtle adjustments and removing distractions can significantly elevate the overall quality of your images.
Lastly, consider creating your own presets as you develop your editing style. This way, you can maintain consistency across your travel photos, making them feel like part of a larger story. It’s a great way to establish your unique photographic voice.
Final Touches: Adding the Finishing Flourishes
As you wrap up your editing process, think about the final touches that can elevate your photos even further. This may include adding a subtle vignette to draw the viewer's eye toward the center or adjusting the clarity for a more polished look. These little details can often make a big difference, much like how a well-placed accessory completes an outfit.
Another important aspect is checking for distractions that could detract from your main subject. This might involve using the clone stamp tool to remove unwanted elements or adjusting the background to ensure it complements your subject. It’s all about creating a harmonious image that tells a clear story.
Finally, don’t forget to save your edits in a high-resolution format. This will ensure your photos look stunning whether printed in a travel book or shared on social media. After all, you want your beautiful memories to shine just as brightly as the experiences you had.