Night Photography: Techniques for Capturing Travel at Dark

Understanding the Basics of Night Photography
Night photography can be an enchanting way to capture the world. The play of light and shadows creates a unique atmosphere that is often missed during the day. Understanding the fundamental elements of exposure, such as aperture, shutter speed, and ISO, is crucial for success in low-light conditions.
Photography is the story I fail to put into words.
Aperture controls the amount of light entering your lens, while shutter speed determines how long your sensor is exposed to that light. In night photography, a lower aperture (like f/2.8) can let in more light, helping to brighten your images. Experimenting with these settings can transform a simple scene into something magical.
Lastly, don’t forget about ISO. Increasing it can help you capture more detail in dim conditions, but be cautious—too high can introduce noise. Striking the right balance between these three elements is key to mastering night photography.
Choosing the Right Gear for Night Shots
Having the right equipment can make all the difference when shooting at night. A camera with good low-light performance is essential, as is a sturdy tripod to keep your shots steady during long exposures. Lenses with wider apertures (like f/1.8 or f/2.8) allow for more light, which is beneficial for night photography.
Additionally, consider using a remote shutter release. This tool helps prevent camera shake when pressing the shutter button, ensuring your images remain crisp and clear. Even a simple self-timer can help if you don’t have a remote.
Master Exposure for Night Shots
Understanding exposure settings like aperture, shutter speed, and ISO is crucial for capturing stunning images in low-light conditions.
Lastly, don’t forget extra batteries and memory cards. Cold temperatures can drain batteries faster than usual, and you wouldn’t want to miss a perfect shot because of storage issues. Being well-prepared with the right gear ensures you can focus on capturing stunning images.
Mastering Exposure Settings for Low Light
In night photography, getting your exposure settings right is critical. A common technique is to use a longer shutter speed, which allows more light to hit the sensor. This can create stunning effects, such as light trails from moving vehicles or the twinkling of stars.
The best thing about a picture is that it never changes, even when the people in it do.
However, longer exposures require careful attention to stability. Even the slightest movement can blur your image, so using a tripod is essential. Alternatively, you can opt for higher ISO settings, but remember that this can introduce graininess if pushed too far.
Consider using the 'bulb' mode on your camera, which allows you to keep the shutter open for as long as you like. This gives you the flexibility to experiment with exposure times until you achieve the desired effect.
Finding the Best Locations for Night Photography
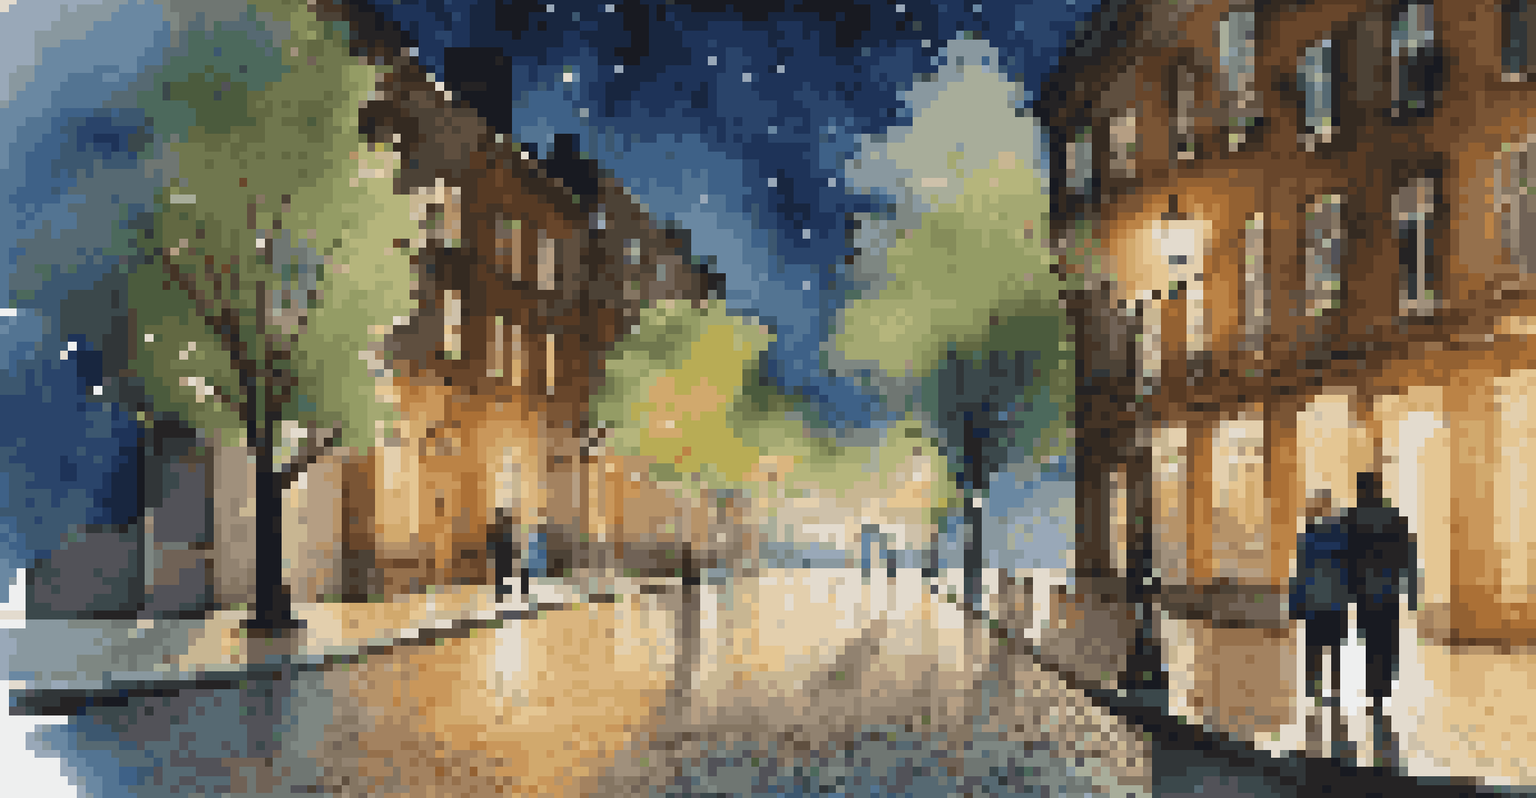
When it comes to night photography, location is everything. Urban environments can provide a myriad of opportunities, with their bright lights and bustling streets. Iconic landmarks illuminated at night can create striking compositions that draw the viewer in.
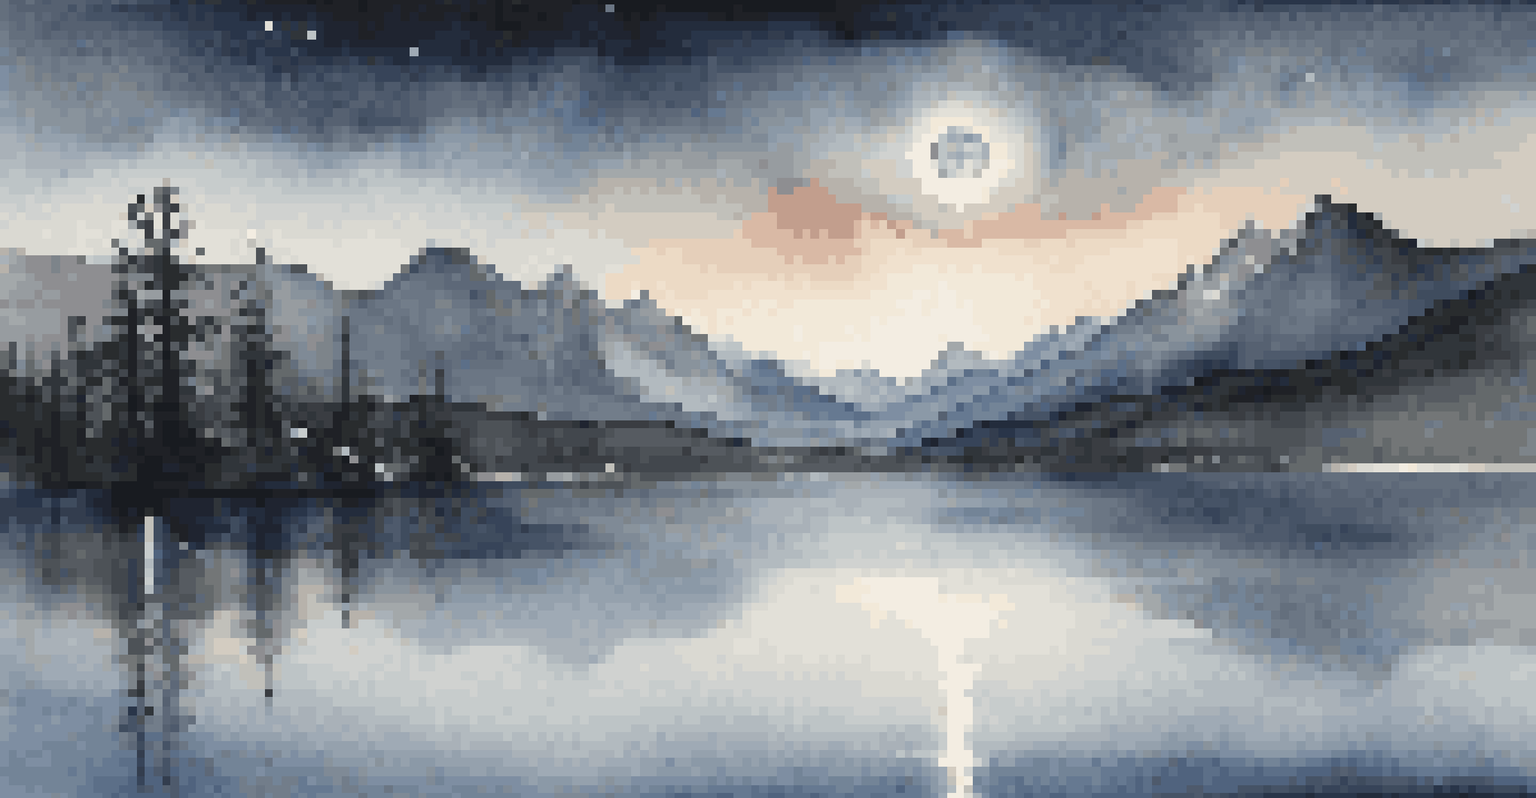
Natural landscapes also have their own charm at night. A clear sky can offer breathtaking views of the stars, while moonlit scenes can create dramatic contrasts and shadows. Researching your location beforehand can help you identify the best spots to capture the night sky.
Choose the Right Gear
Using a camera with good low-light performance and a sturdy tripod can significantly enhance your night photography experience.
Consider visiting your chosen location during the day to scout out potential angles and compositions. This preparation can save you time and help you make the most of your shooting session when night falls.
Utilizing Light Sources for Creative Effects
Light sources play a critical role in night photography, adding depth and interest to your images. Street lamps, neon signs, and the glow of buildings can create beautiful contrasts against the dark backdrop. Play around with how these light sources interact with your subjects.
You can also experiment with using artificial light sources, such as flashlights or smartphone screens, to illuminate specific parts of your scene. This technique, often referred to as 'light painting,' allows you to add a creative touch to your compositions.
Don't be afraid to get creative with light! The unique glow of fireworks or the soft illumination of lanterns can take your photos to the next level. The key is to experiment and see what works best for your vision.
Post-Processing Tips for Stunning Night Photos
Post-processing is an essential part of night photography that can elevate your images. Using software like Adobe Lightroom or Photoshop, you can adjust exposure, contrast, and color balance to enhance the overall mood of your photos. Don't hesitate to play around with these settings to find the right look.
Noise reduction is another crucial step, especially if you used a high ISO. Many editing programs offer tools specifically designed to clean up grainy images, allowing your photos to shine without unwanted distractions.
Post-Processing Improves Photos
Post-processing techniques like noise reduction and cropping can elevate your night images and highlight their captivating details.
Finally, consider cropping your images for better composition. Sometimes, a simple adjustment can draw attention to your subject and create a more compelling story. With a bit of post-processing magic, your night shots can truly captivate your audience.
Common Mistakes to Avoid in Night Photography
Even seasoned photographers can fall victim to common mistakes when shooting at night. One of the biggest pitfalls is neglecting to check your focus. In low light, autofocus may struggle, so switching to manual focus can ensure your subject is sharp and clear.
Another common mistake is using too high of an ISO, resulting in grainy images. While it’s tempting to crank it up for more light, finding the right balance is key to maintaining image quality.
Lastly, remember to be patient! Night photography often requires some trial and error. If a shot doesn’t turn out as planned, don’t get discouraged—each attempt is a step toward improvement.