Using Tripods: Travel Photography Techniques for Stability
Why Use a Tripod for Travel Photography?
Using a tripod in travel photography can dramatically improve your image quality. It provides stability, especially during low-light conditions or when using slower shutter speeds. This means clearer, sharper images, which is crucial when capturing those picture-perfect moments.
Photography is the story I fail to put into words.
Moreover, a tripod allows for more creative compositions. You can take your time to frame the shot just right, without the pressure of holding the camera steady. This is particularly helpful when you're trying to capture landscapes or intricate details in architecture.
Lastly, using a tripod encourages you to explore different angles and perspectives. You might find that setting up a tripod leads to unique shots you wouldn’t have considered otherwise. So, it’s not just about stability; it’s about enhancing your creative vision.
Choosing the Right Tripod for Travel
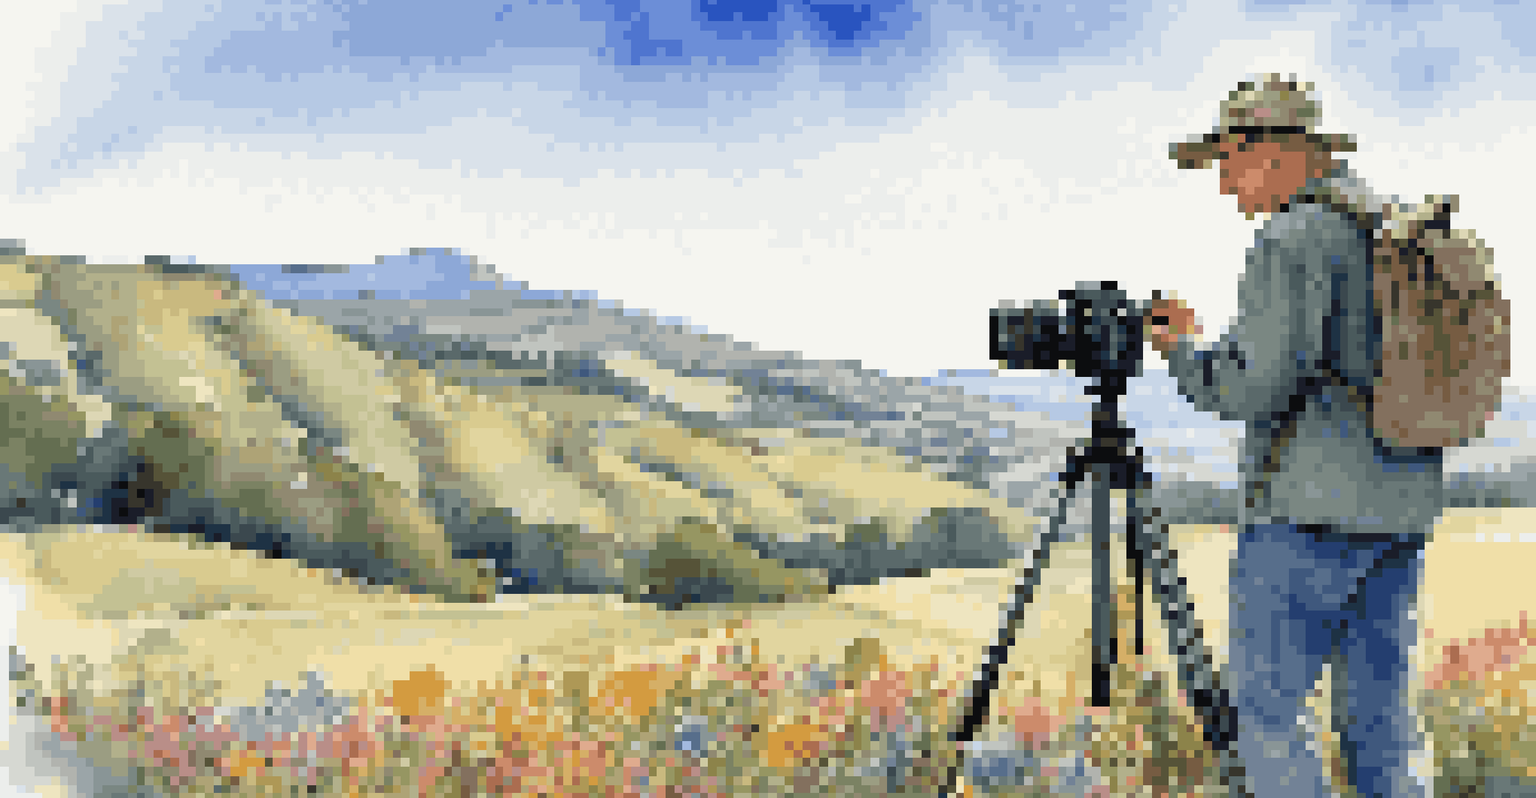
When selecting a tripod for travel, consider its weight and portability. You want something lightweight that won’t weigh you down during your adventures. Many travel tripods are designed to be compact without sacrificing stability, making them perfect for on-the-go photographers.
Look for materials like aluminum or carbon fiber, which provide both durability and lightweight options. While carbon fiber tends to be pricier, it offers superior stability and resistance to the elements, making it a worthy investment for frequent travelers.
Tripods Enhance Image Quality
Using a tripod provides stability for clearer, sharper images, especially in low-light conditions.
Lastly, ensure the tripod has adjustable height and flexibility in positioning. Features like a ball head or quick-release plate can make setting up your shot easier, allowing you to adapt to various shooting conditions quickly.
Setting Up Your Tripod: Best Practices
Properly setting up your tripod is key to achieving the best results. Start by extending the legs fully to provide maximum stability, and always ensure the ground is level. If you're on uneven terrain, adjust each leg individually to keep your camera perfectly balanced.
A picture is worth a thousand words, but the right composition can be worth a million.
When you place your camera on the tripod, use a quick-release plate to make the process smoother. This allows you to easily detach your camera when you want to shoot handheld or switch locations. Plus, it helps reduce the risk of accidentally dropping your gear.
Additionally, try to keep the center column down as much as possible to maintain stability. Raising the center column can introduce vibrations, especially in windy conditions. A lower setup means a sturdier base, leading to clearer photos.
Mastering Long Exposures with a Tripod
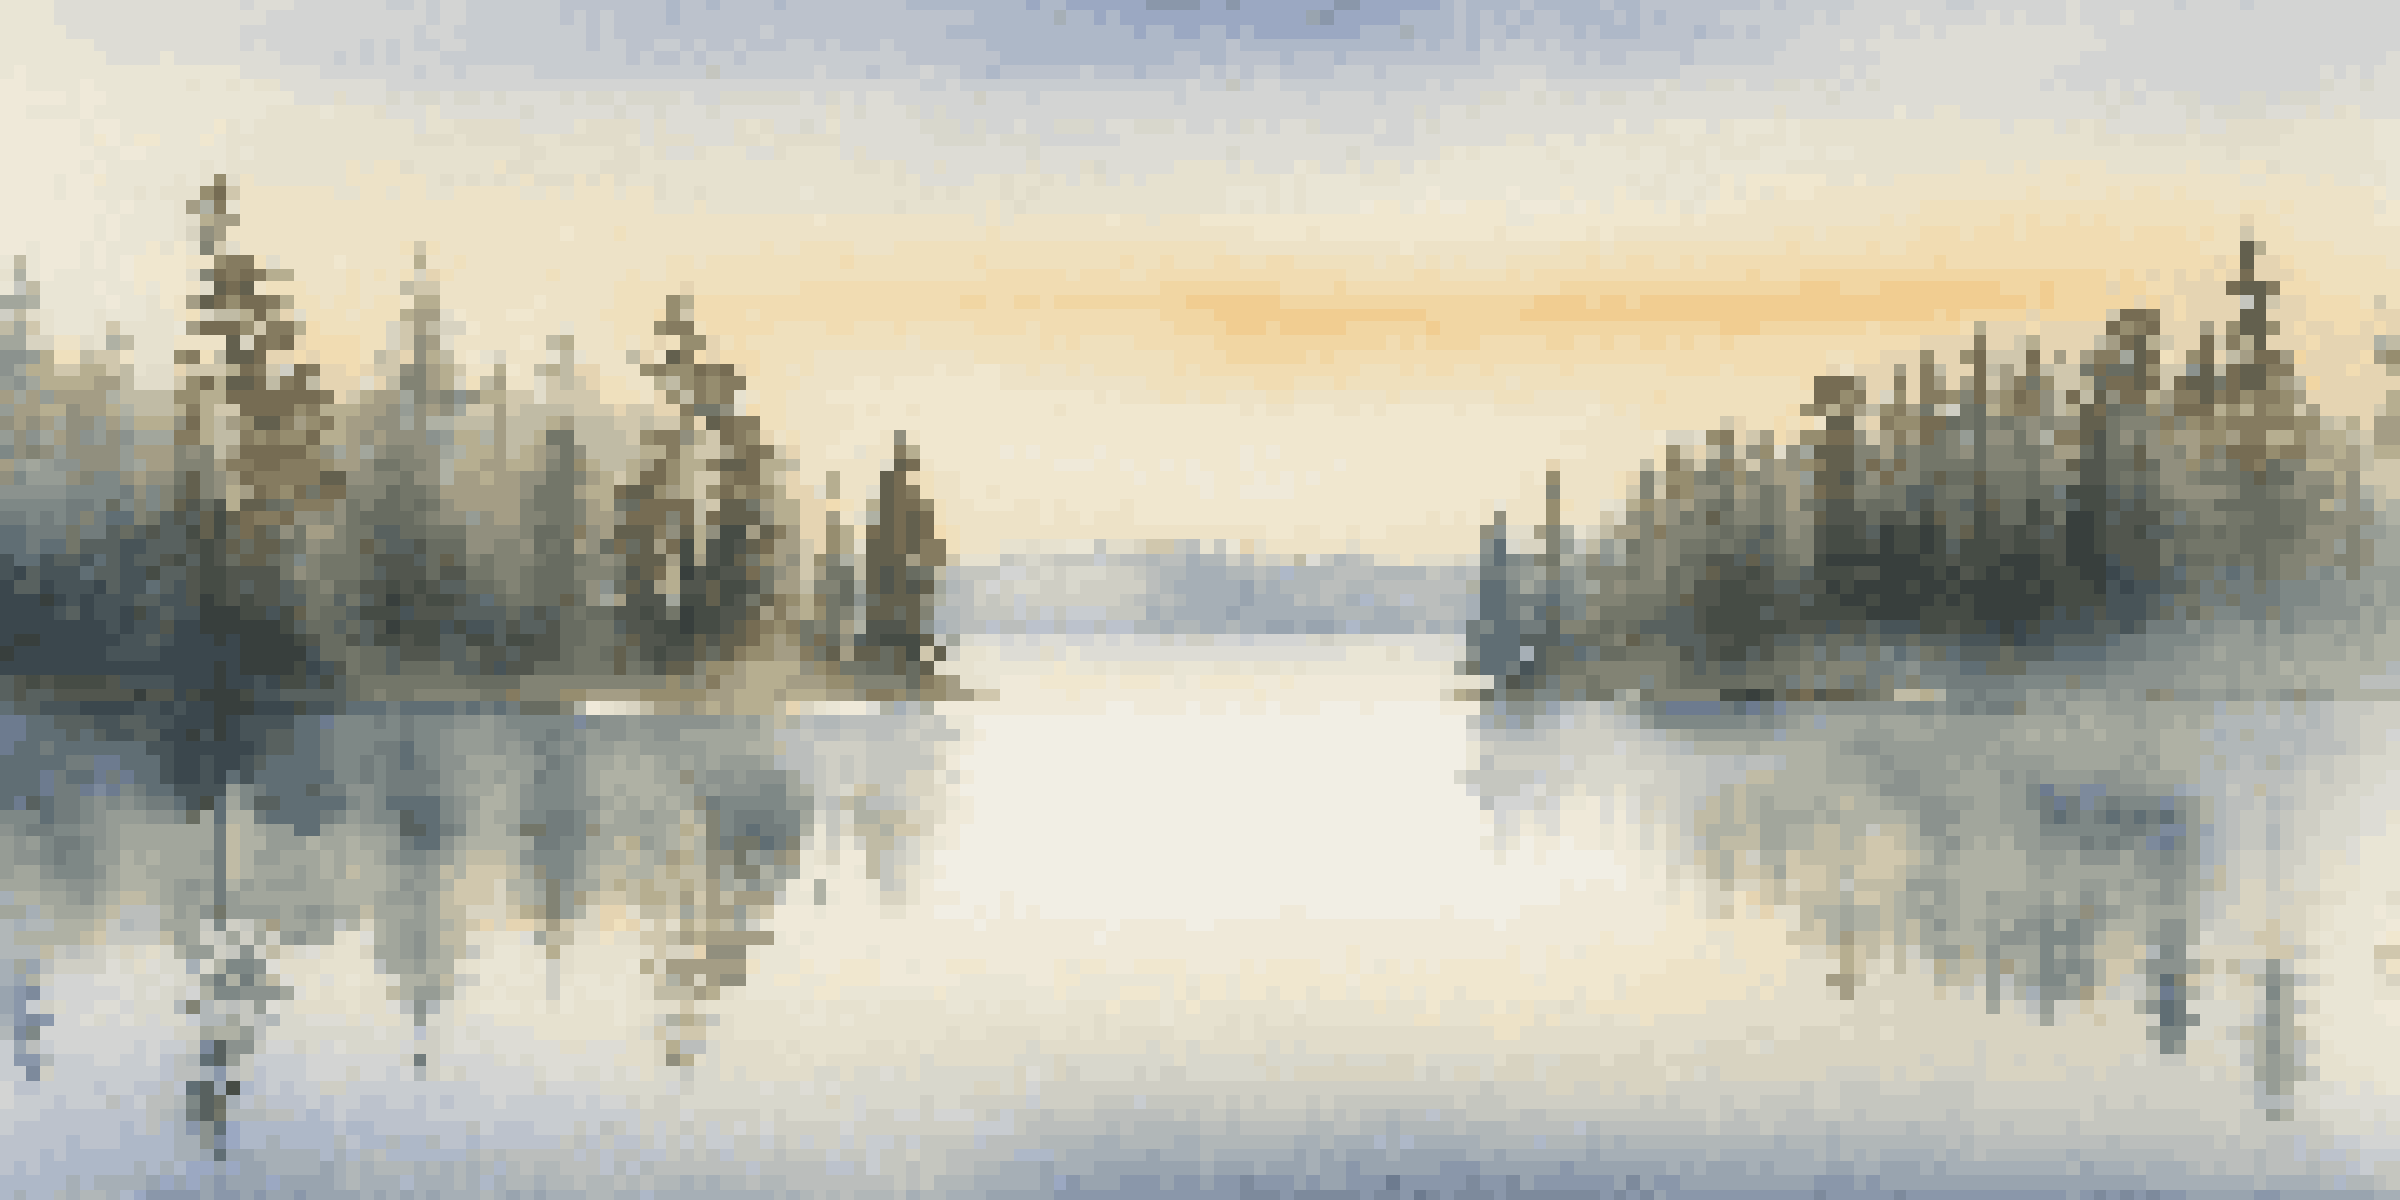
Long exposure photography is a fantastic way to create ethereal images, and a tripod is essential for this technique. By keeping the camera stable over several seconds, you can capture light trails, smooth water surfaces, or even the movement of clouds. It's all about patience and precision.
To achieve great long exposures, utilize a remote shutter release or the camera’s timer function. This prevents any camera shake that might occur when pressing the shutter button. Even the slightest movement can ruin your shot, so minimizing that risk is vital.
Choose the Right Travel Tripod
Select a lightweight, portable tripod made of durable materials like aluminum or carbon fiber for optimal travel convenience.
Don’t forget to use neutral density filters if you want to extend your exposure time even further. These filters reduce the amount of light entering your lens, allowing for longer exposures even in bright daylight. The results can be simply breathtaking!
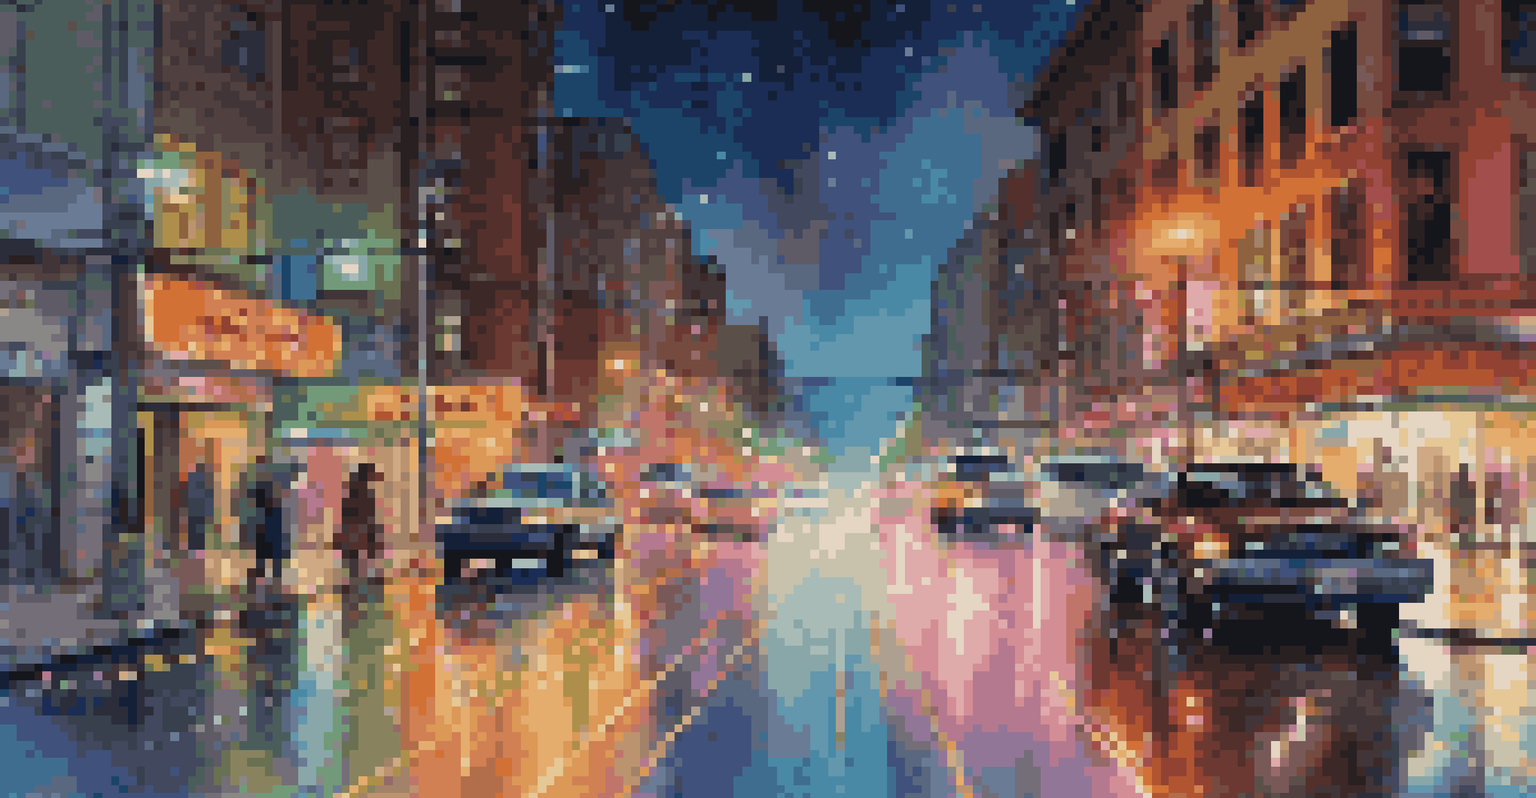
Incorporating Tripods in Night Photography
Night photography presents unique challenges, and a tripod can be your best friend for capturing stunning images in low light. The stability it provides is essential for longer exposures required in darker settings. Without it, your photos may end up blurry from camera shake.
When shooting at night, consider using higher ISO settings combined with your tripod. This allows for faster shutter speeds while still maintaining clarity. However, be mindful of potential noise that can creep in at higher ISO levels, and adjust accordingly.
Experiment with different exposure times to capture the ambient light of cityscapes or star trails. A tripod allows you to take the time you need to perfect each shot without the stress of holding the camera steady, opening up a world of creative possibilities.
Tips for Using Tripods in Windy Conditions
Wind can be a significant challenge when photographing outdoors, but using a tripod can help mitigate the impact. To ensure stability, consider adding weight to your tripod by hanging your camera bag from the center hook. This extra weight keeps your setup grounded, reducing vibrations caused by gusts.
Another helpful trick is to lower the tripod as much as possible. A lower center of gravity makes it less likely to tip over or sway in the wind. Additionally, spread the legs wide to create a broader base for added stability.
Editing Maximizes Photo Impact
Post-capture editing, including exposure adjustments and noise reduction, can enhance the visual appeal of your tripod photos.
Lastly, be mindful of your camera settings. If you're facing strong winds, you might want to opt for shorter exposure times to minimize the risk of blur. With a bit of foresight and preparation, you can still capture stunning photos even in breezy conditions.
Editing Tripod Photos for Maximum Impact
After capturing your stunning shots with a tripod, the next step is editing to enhance their appeal. Begin by adjusting the exposure and contrast to ensure your images pop. A well-balanced photo can elevate the travel experience you're trying to convey.
Don't shy away from cropping your images to improve composition. Sometimes, a little adjustment is all it takes to create a more engaging visual narrative. With a tripod, you have more control over your framing, making it easier to crop without losing quality.
Lastly, consider using noise reduction tools if you've shot in low light. This can help smooth out any graininess that may have appeared in your images. With a bit of editing finesse, your tripod photos can truly shine!