Mastering Night Photography: Capturing the Magic After Dark
Understanding the Basics of Night Photography
Night photography can seem daunting, but it’s all about understanding light. When the sun sets, the world transforms, and capturing that magic requires a different approach than daytime shooting. Familiarizing yourself with your camera settings, particularly ISO, aperture, and shutter speed, is essential for success after dark.
The best camera is the one you have with you.
ISO determines your camera's sensitivity to light; a higher ISO can help in low-light situations but may introduce noise. Aperture affects how much light enters the lens, while shutter speed controls how long the sensor is exposed to light. Balancing these elements will help you produce stunning night images.
With a little practice and experimentation, you'll find the sweet spot for your unique style and the conditions you're shooting in. Remember, the key is to embrace the challenge of low light and let your creativity shine.
Essential Gear for Night Photography
Having the right gear can make a significant difference in your night photography results. A sturdy tripod is an absolute must; it stabilizes your camera during long exposures, preventing any unwanted blur. Without it, even the slightest shake can ruin an otherwise perfect shot.
In addition to a tripod, consider using a remote shutter release or your camera's timer function. This prevents any vibration caused by pressing the shutter button, further ensuring sharp images. A wide-angle lens can also be advantageous, allowing you to capture more of the stunning night sky or cityscape.
Master Camera Settings for Night Shots
Understanding ISO, aperture, and shutter speed is crucial for capturing beautiful images in low-light conditions.
Lastly, don't forget to bring extra batteries! Cold temperatures can drain battery life faster, and the last thing you want is to miss a great shot because your camera ran out of juice.
Finding the Best Locations for Night Shots
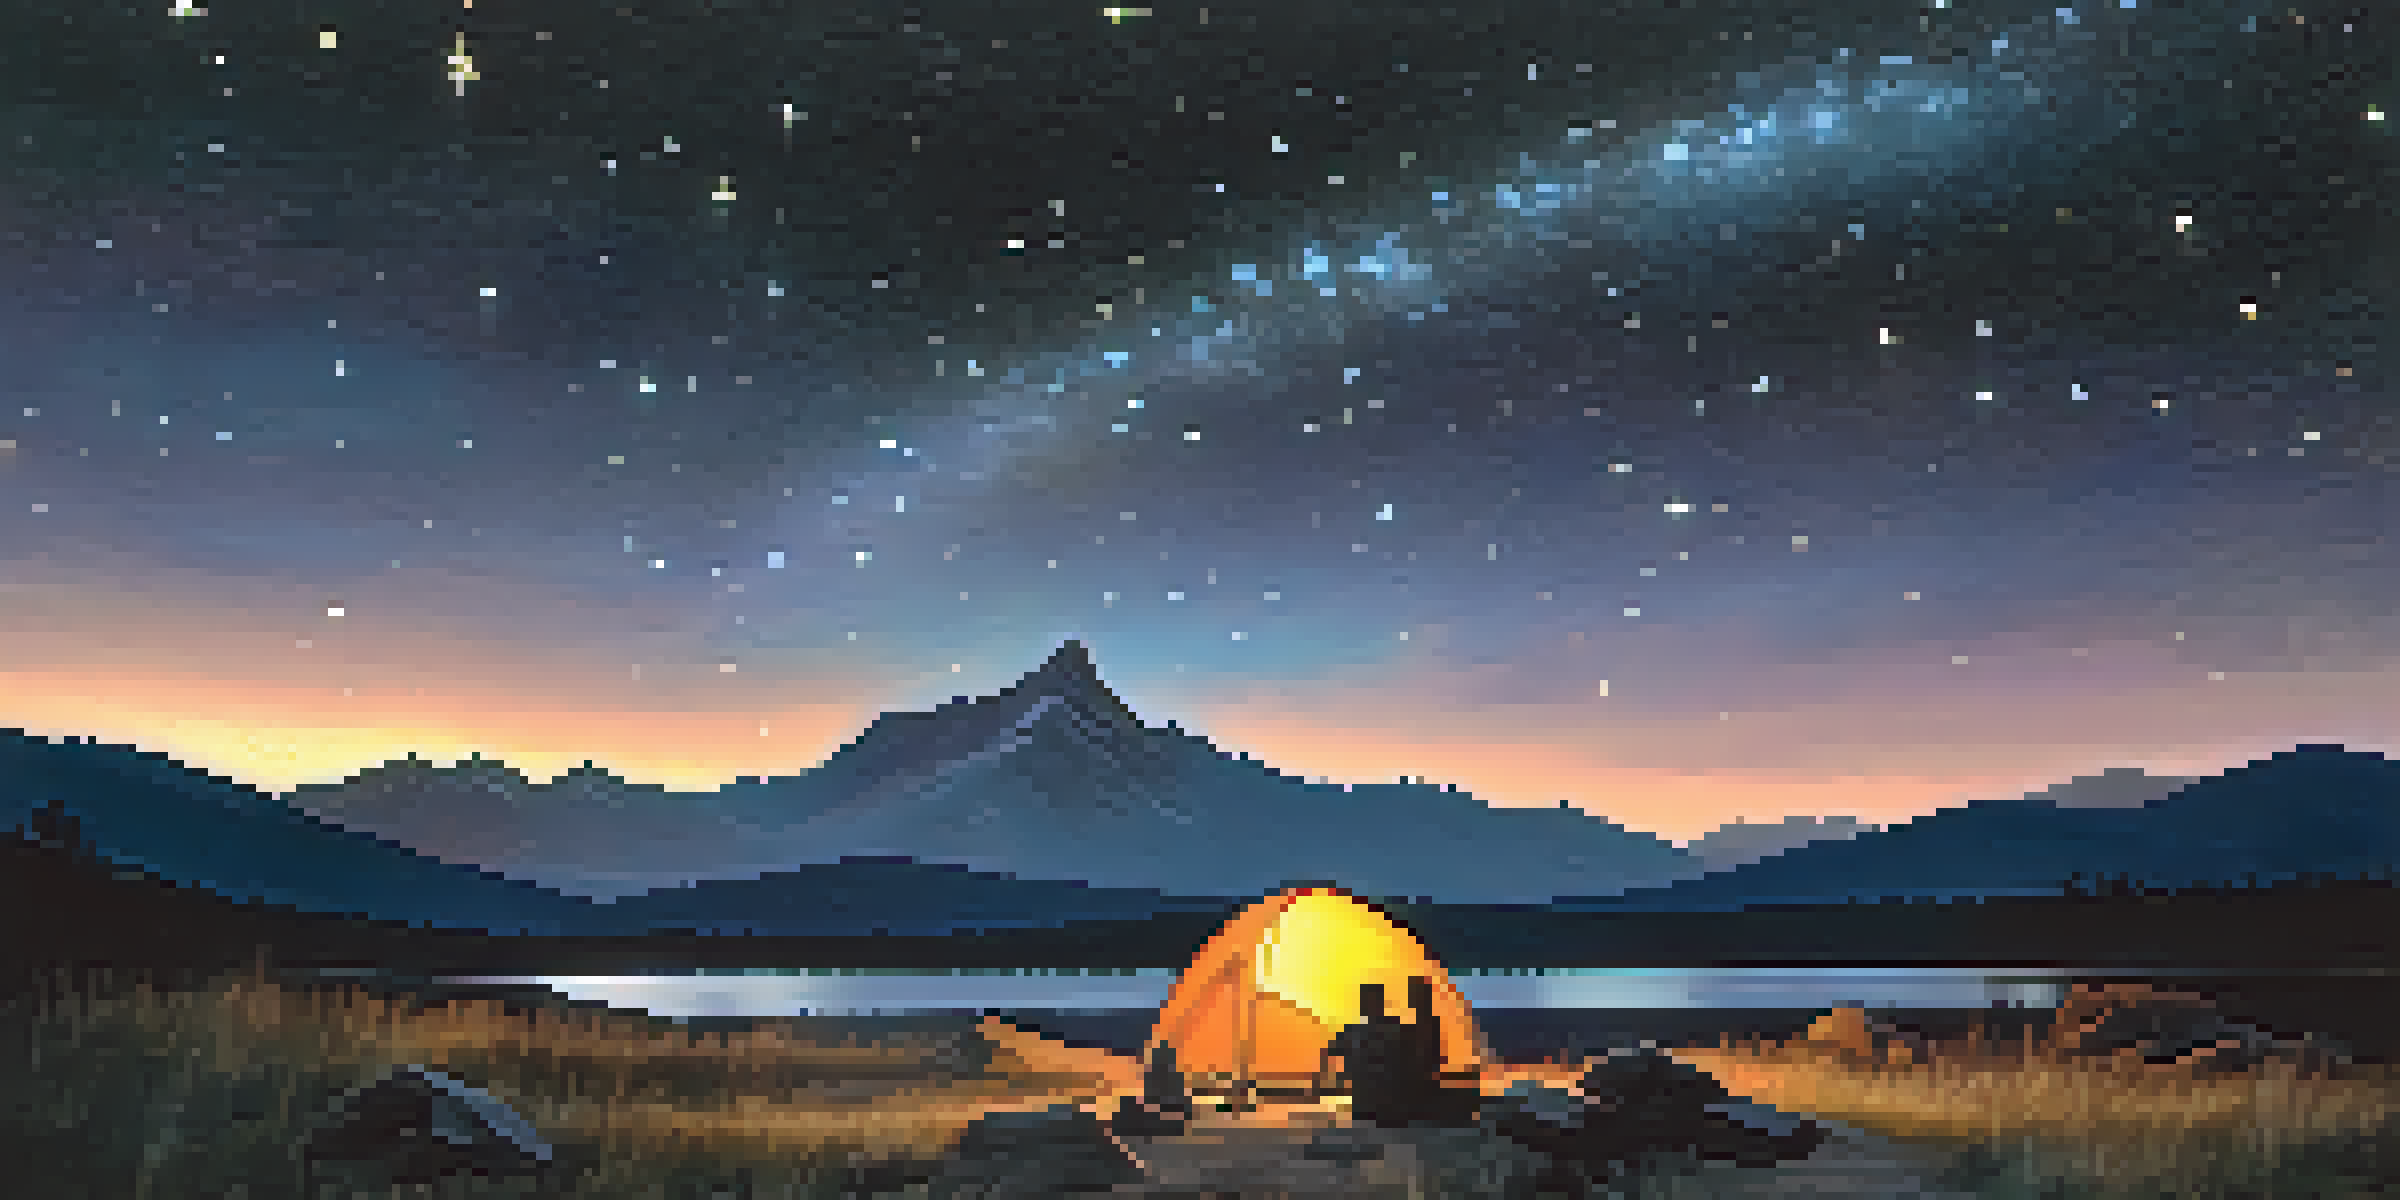
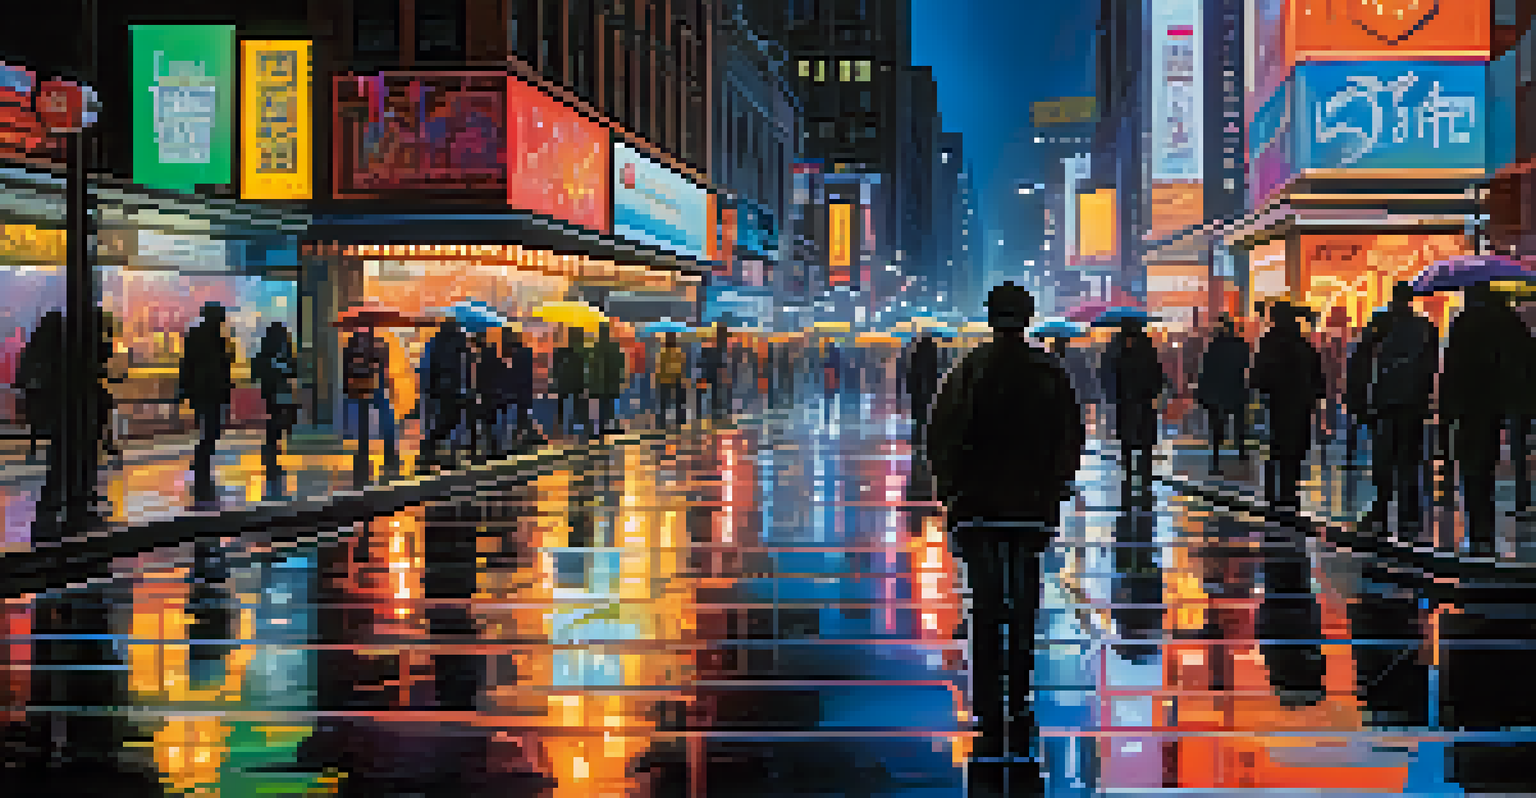
Location scouting is vital in night photography, as different settings can yield dramatically different results. Urban areas often provide vibrant lights and dynamic compositions, while natural landscapes can offer serene, star-filled skies. Think about the mood you want to convey and choose your locations accordingly.
Photography is the story I fail to put into words.
Visiting a site during the day can help you plan your night shoot; you can note potential angles and compositions while the sun is still up. Plus, being familiar with the area will help you navigate in the dark and avoid any surprises.
Popular locations might be crowded at night, so consider going during off-peak hours to capture a more tranquil scene. This way, you can focus on your photography without distractions.
Mastering Exposure Settings After Dark
Exposure settings can be tricky at night, but with practice, you'll learn to find the right balance. Start with a low ISO setting to minimize noise, and adjust your aperture and shutter speed accordingly. A good starting point is an aperture of f/8 and a shutter speed of 15-30 seconds, but feel free to experiment.
Longer exposure times allow more light to hit the sensor, which can create stunning effects like light trails from cars or star trails in the sky. However, too long of an exposure can lead to overexposed images, so keep an eye on your histogram to gauge exposure levels.
Essential Gear for Night Photography
A sturdy tripod, remote shutter release, and extra batteries are vital for successful night photography.
Using manual focus is recommended for night photography, as autofocus can struggle in low light. Focusing on a distant light or a brightly lit object can help ensure clarity in your images.
Incorporating Light Sources into Your Shots
Light sources can add depth and interest to your night photography. Streetlights, neon signs, and even the moon can create beautiful highlights and shadows that enhance your composition. Consider how these light sources interact with your subject to tell a more captivating story.
Backlighting can create a dramatic silhouette effect that emphasizes your subject against a brighter background. Alternatively, using foreground elements can lead to intriguing leading lines that draw the viewer's eye into the photo.
Experimenting with different angles and perspectives can help you discover unique ways to incorporate light into your images. The interplay of light and shadow can transform an ordinary scene into something extraordinary.
Editing Night Photos for Maximum Impact
Post-processing is a crucial step in night photography, allowing you to bring out the best in your images. Software like Adobe Lightroom or Photoshop can help you adjust exposure, contrast, and colors to create the desired atmosphere. Don’t be afraid to enhance the vibrancy of lights or reduce noise, but aim for a natural look.
Playing with shadows and highlights can help emphasize your subject and create a more balanced image. A slight increase in clarity can also add depth to your night shots, making them pop.
Location Matters for Night Photography
Choosing the right location can dramatically enhance your night photography, whether it's an urban scene or a starry landscape.
Lastly, consider using presets or filters as a starting point, but remember to adjust them to suit your specific image. Every photo is unique, and your editing should reflect your personal style and the mood you want to convey.
Tips for Capturing Stellar Astrophotography
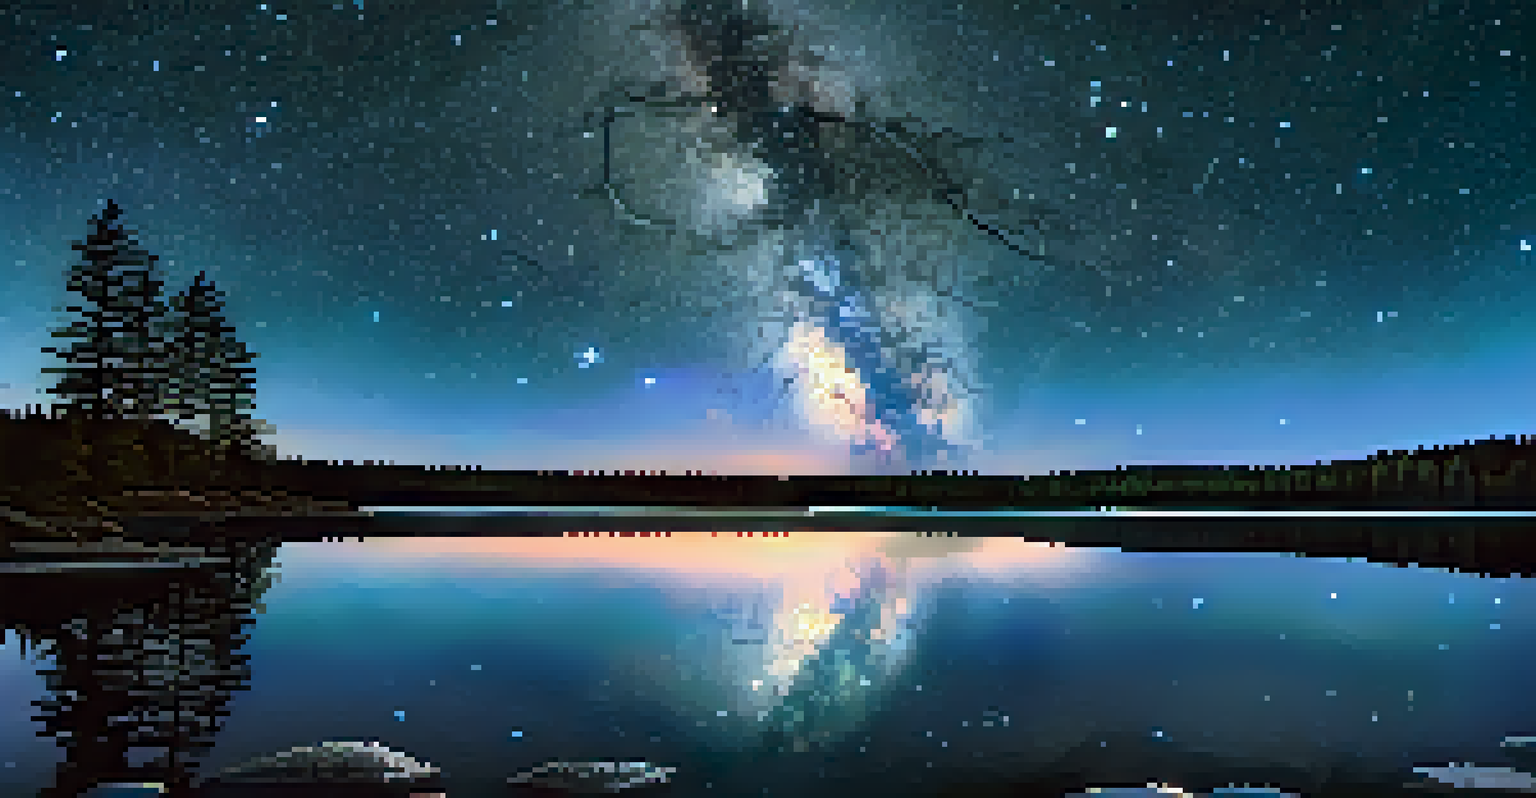
Astrophotography is a breathtaking branch of night photography that can seem overwhelming at first. However, with the right techniques, you can capture the beauty of the night sky. Start by finding a location far from city lights to minimize light pollution, allowing stars to shine through more clearly.
Using a wide-angle lens with a fast aperture (like f/2.8 or lower) will help gather more light, making it easier to capture star details. Set a longer exposure time—between 20 to 30 seconds—while keeping an eye on the stars' movement to avoid star trails unless that’s the effect you’re going for.
Don’t forget to use a sturdy tripod, as stability is key to capturing sharp images of the night sky. With practice and patience, you’ll be able to create stunning astrophotography that captures the magic of the universe.