Travel Photography Techniques: Long Exposure for Stunning Shots
Understanding Long Exposure Photography Basics
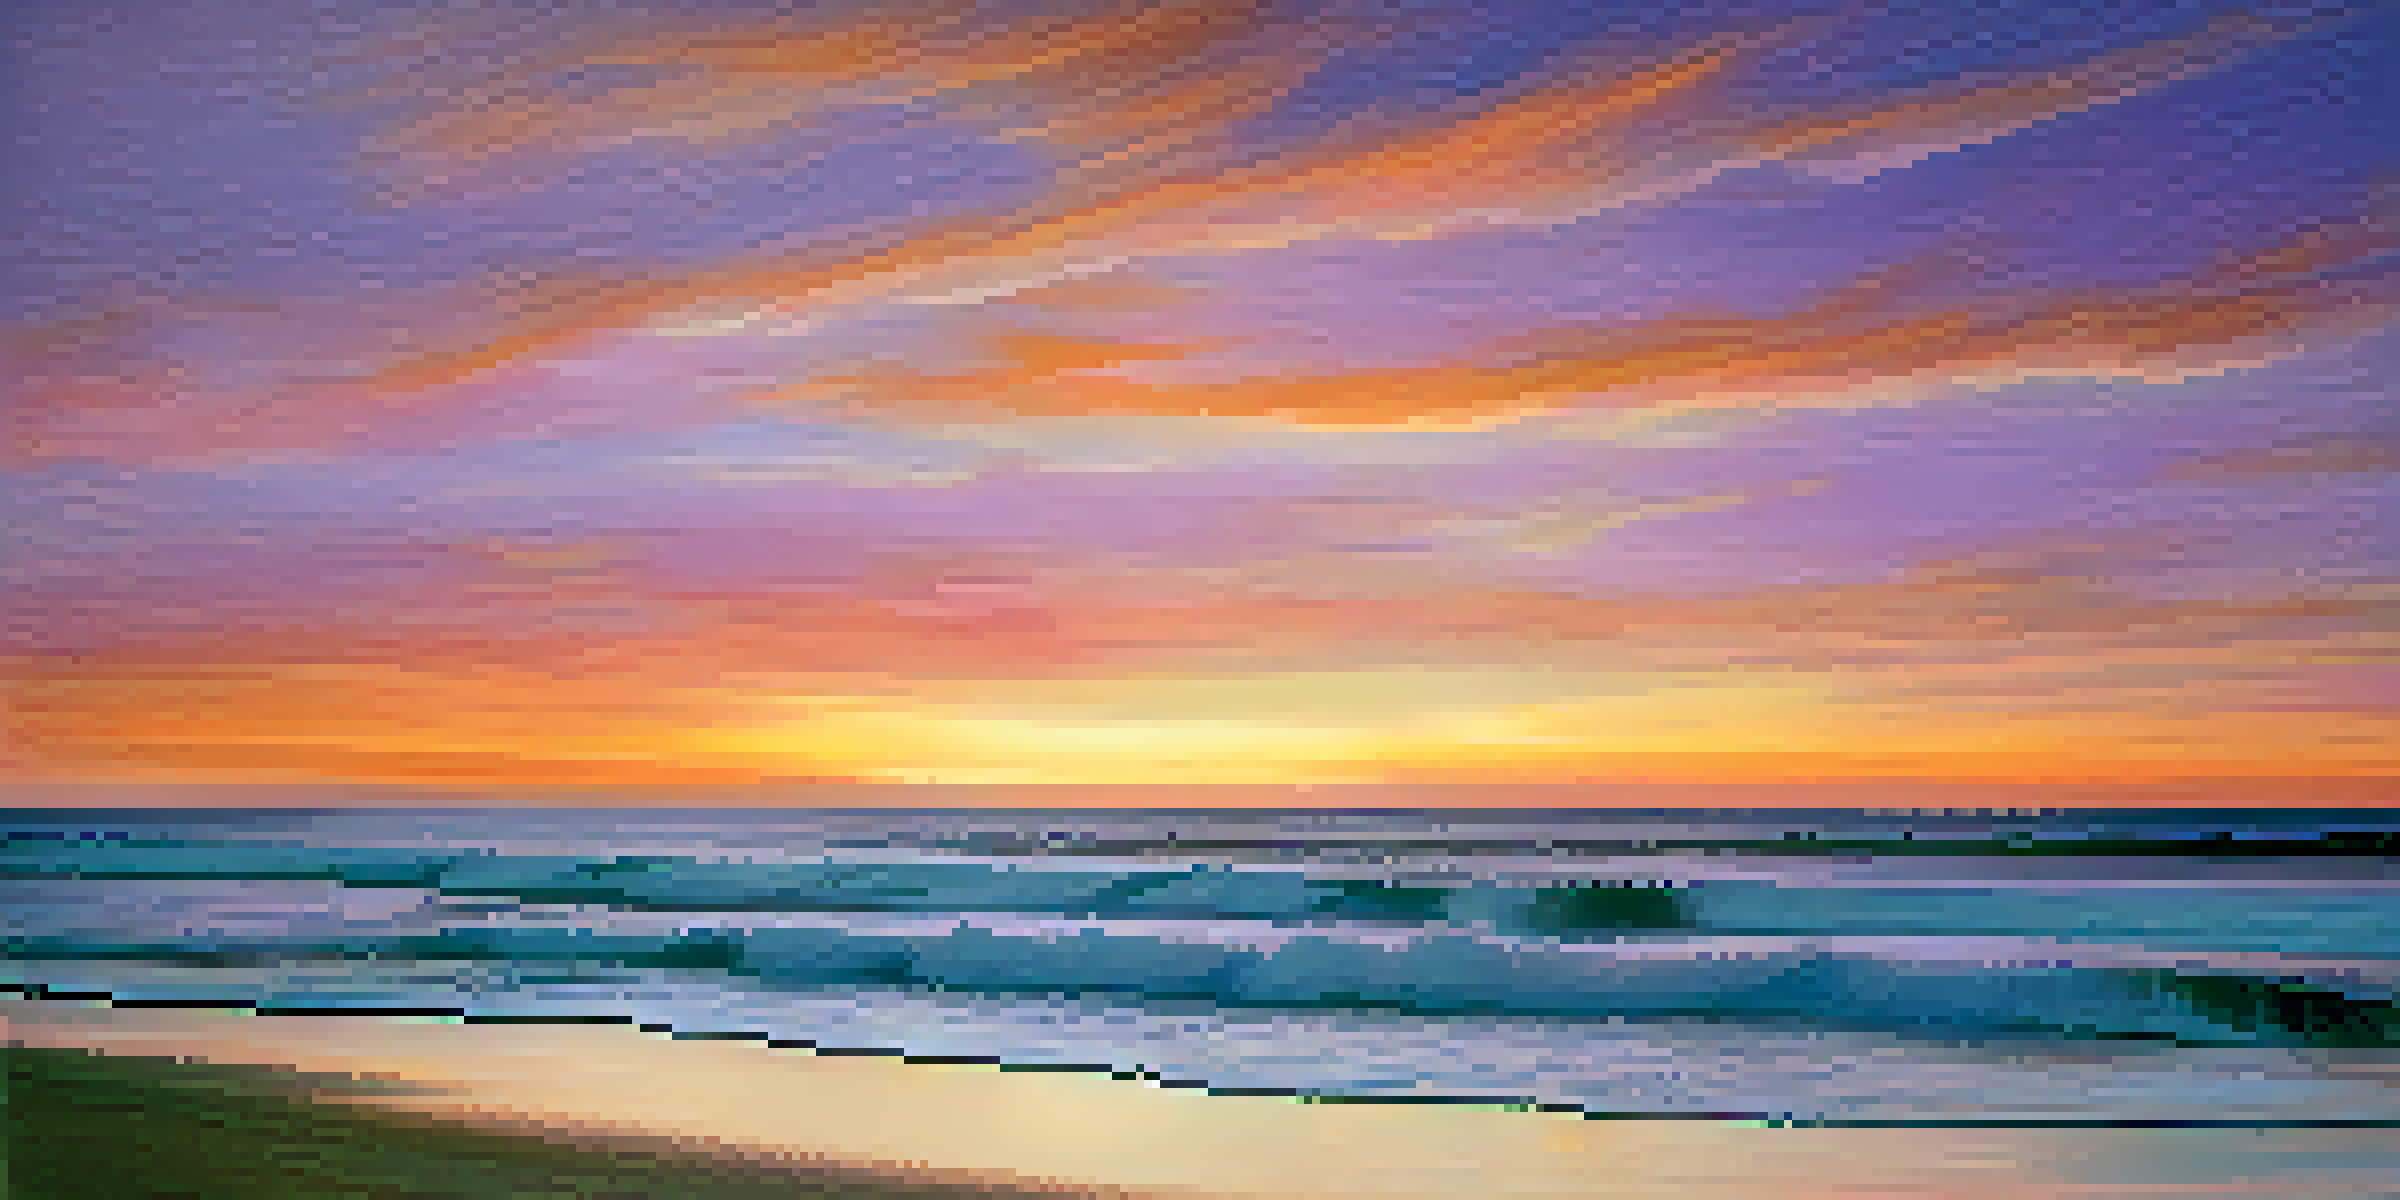
Long exposure photography is a captivating technique that allows you to capture the passage of time within a single image. By using a slow shutter speed, you can create beautiful effects like smooth water or light trails. This method offers a unique way to showcase a scene, transforming ordinary moments into extraordinary visuals.
Photography is the story I fail to put into words.
Essentially, when you leave the camera's shutter open for a longer duration, motion becomes part of the composition. For instance, capturing waves gently rolling onto a shore can create a dreamy, ethereal effect. Understanding this technique not only enhances your creativity but also elevates your travel photography game.
Before diving in, it's crucial to familiarize yourself with camera settings and the equipment needed. A sturdy tripod is your best friend here, as it ensures stability during those extended exposure times. The right planning and knowledge will help you harness the full potential of long exposure photography.
Essential Gear for Long Exposure Photography
To achieve stunning long exposure shots, having the right gear is vital. A sturdy tripod is indispensable, as it prevents camera shake during those longer shutter speeds. Additionally, a remote shutter release can further reduce any vibrations, ensuring crystal-clear images.
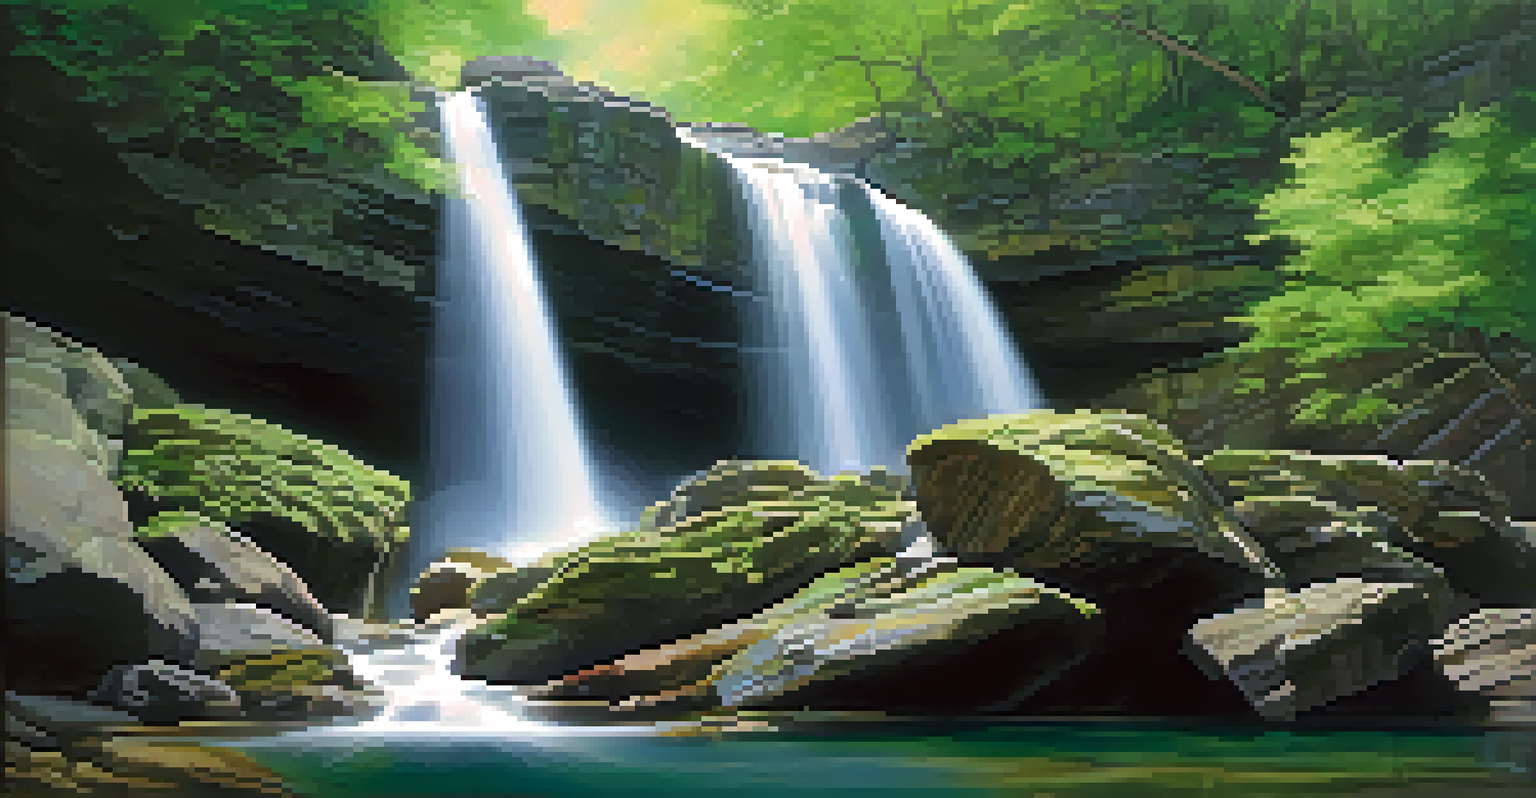
Filters also play a significant role in long exposure photography. Neutral density (ND) filters, for example, reduce the amount of light entering the lens, allowing for longer exposures even in bright conditions. This means you can capture that silky smooth waterfall effect even at midday, which is pretty magical.
Master the Basics of Long Exposure
Long exposure photography captures motion over time, transforming ordinary scenes into captivating visuals.
Lastly, a camera with manual settings is recommended. This will give you full control over shutter speed, aperture, and ISO, allowing for greater experimentation. Investing in the right equipment can make a world of difference in achieving those stunning shots you envision.
Choosing the Right Locations for Long Exposure Shots
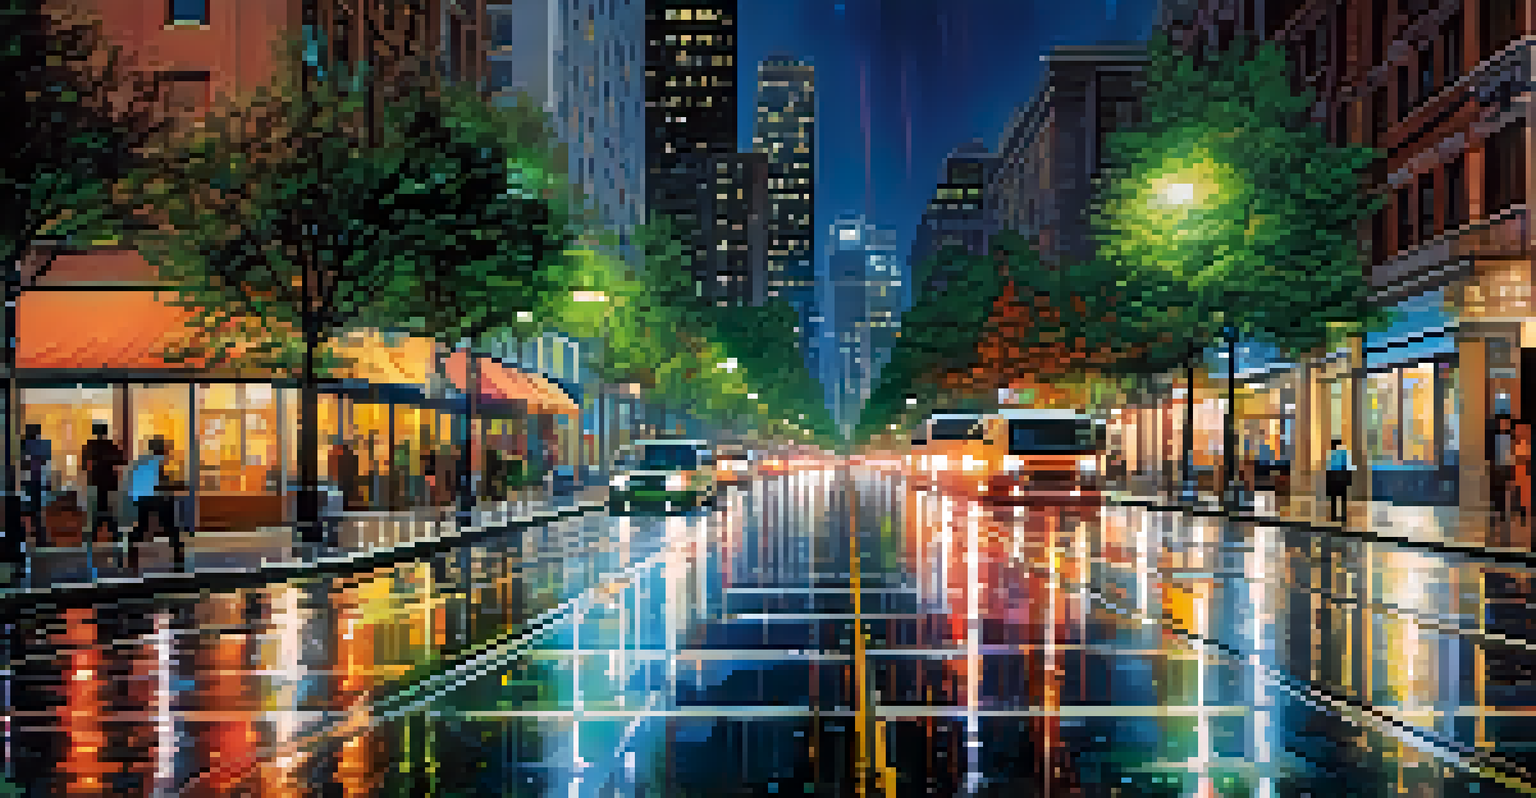
Selecting the perfect location is crucial when it comes to long exposure photography. Look for areas with dynamic elements, like flowing water, bustling city streets, or starry night skies. These scenes provide the motion that brings your images to life, highlighting the beauty of time passing.
The best camera is the one that you have with you.
Consider visiting locations during different times of the day to see how natural light transforms the scenery. Early mornings or late afternoons often yield the best results, as the softer light can create enchanting atmospheres. This not only enhances your photos but also allows you to play with shadows and highlights.
Don't forget to scout your location ahead of time. Familiarizing yourself with the surroundings will help you anticipate the best angles and compositions. Sometimes, the most unexpected spots can lead to breathtaking long exposure images, so keep your eyes open for hidden gems.
Camera Settings for Perfect Long Exposures
Understanding the right camera settings is key to nailing long exposure shots. Start by setting your camera to manual mode, which allows you full control over shutter speed, aperture, and ISO. A typical starting point for long exposures might be a shutter speed of 1 second or longer, depending on the light conditions.
Aperture also plays a significant role; a smaller aperture (higher f-number) will help create a deeper depth of field while allowing less light in. This is particularly useful for landscape photography, where you want both the foreground and background in focus. Balancing the aperture and shutter speed is essential for achieving that dreamy effect.
Essential Gear for Stunning Shots
A sturdy tripod, remote shutter release, and ND filters are crucial for achieving clear, artistic long exposure images.
Lastly, keep an eye on your ISO settings. A lower ISO (like 100 or 200) is preferable for long exposures, as it minimizes noise and produces cleaner images. Finding the right combination of these settings may take some practice, but it’s all part of the creative journey!
Using Filters for Stunning Long Exposure Effects
Filters can dramatically enhance your long exposure photography, adding depth and creativity to your shots. Neutral density (ND) filters are particularly useful, as they allow you to use slower shutter speeds even in bright conditions. This opens up a world of possibilities, letting you capture smooth waterfalls or blurred clouds.
Another option is a graduated ND filter, which helps balance exposure between the sky and the land. This is perfect for landscapes where the sky tends to be much brighter than the foreground. Using these filters can create a more balanced and captivating image, drawing the viewer in.
Experimenting with different filters can lead to stunning, unique effects. Don’t be afraid to try various combinations to see what resonates with your style. The right filter can elevate your photographs from good to breathtaking, so it’s worth investing in quality options.
Framing and Composition Techniques for Long Exposure
Framing and composition are essential elements in any type of photography, but they become even more crucial in long exposure shots. Consider using leading lines to guide the viewer's eye through the image. This technique can create a sense of depth and make your long exposure photos more engaging.
Another tip is to think about the rule of thirds. Placing key elements of your composition off-center can create a more dynamic and interesting image. This is especially effective in landscapes, where the horizon line can be positioned along the top or bottom third of the frame.
Refine Images with Post-Processing
Post-processing techniques like adjusting highlights and shadows can enhance your long exposure photos and create stunning results.
Additionally, don’t shy away from including foreground elements to add depth. A rock, a tree, or even a person can enrich your composition, making the long exposure feel more immersive. By carefully considering these aspects, you can elevate your travel photography to new heights.
Post-Processing Tips for Long Exposure Photos
Post-processing is where you can truly refine your long exposure photographs. Software like Adobe Lightroom or Photoshop can help enhance colors, adjust contrast, and sharpen details. This is your chance to bring out the best in your images, making them pop and resonate with viewers.
A common technique in post-processing is to adjust the highlights and shadows to create a balanced exposure. This can help bring out details in the darker areas without losing the ethereal quality of your long exposure shots. Remember, subtle adjustments often yield the best results.
Don't forget to consider cropping your images as well. Sometimes, a simple crop can enhance the composition and draw focus to the main subject. By spending some time on post-processing, you can transform your long exposure shots into stunning works of art.