Understanding Camera Settings: A Guide for Travel Photographers
Understanding Aperture: The Eye of Your Lens
Aperture refers to the size of the opening in a lens through which light passes. Think of it as the pupil of your eye; it can widen or narrow based on lighting conditions. A wider aperture (like f/1.8) allows more light, perfect for low-light situations, while a narrower aperture (like f/16) is great for landscapes, giving you a deeper depth of field.
Photography is the story I fail to put into words.
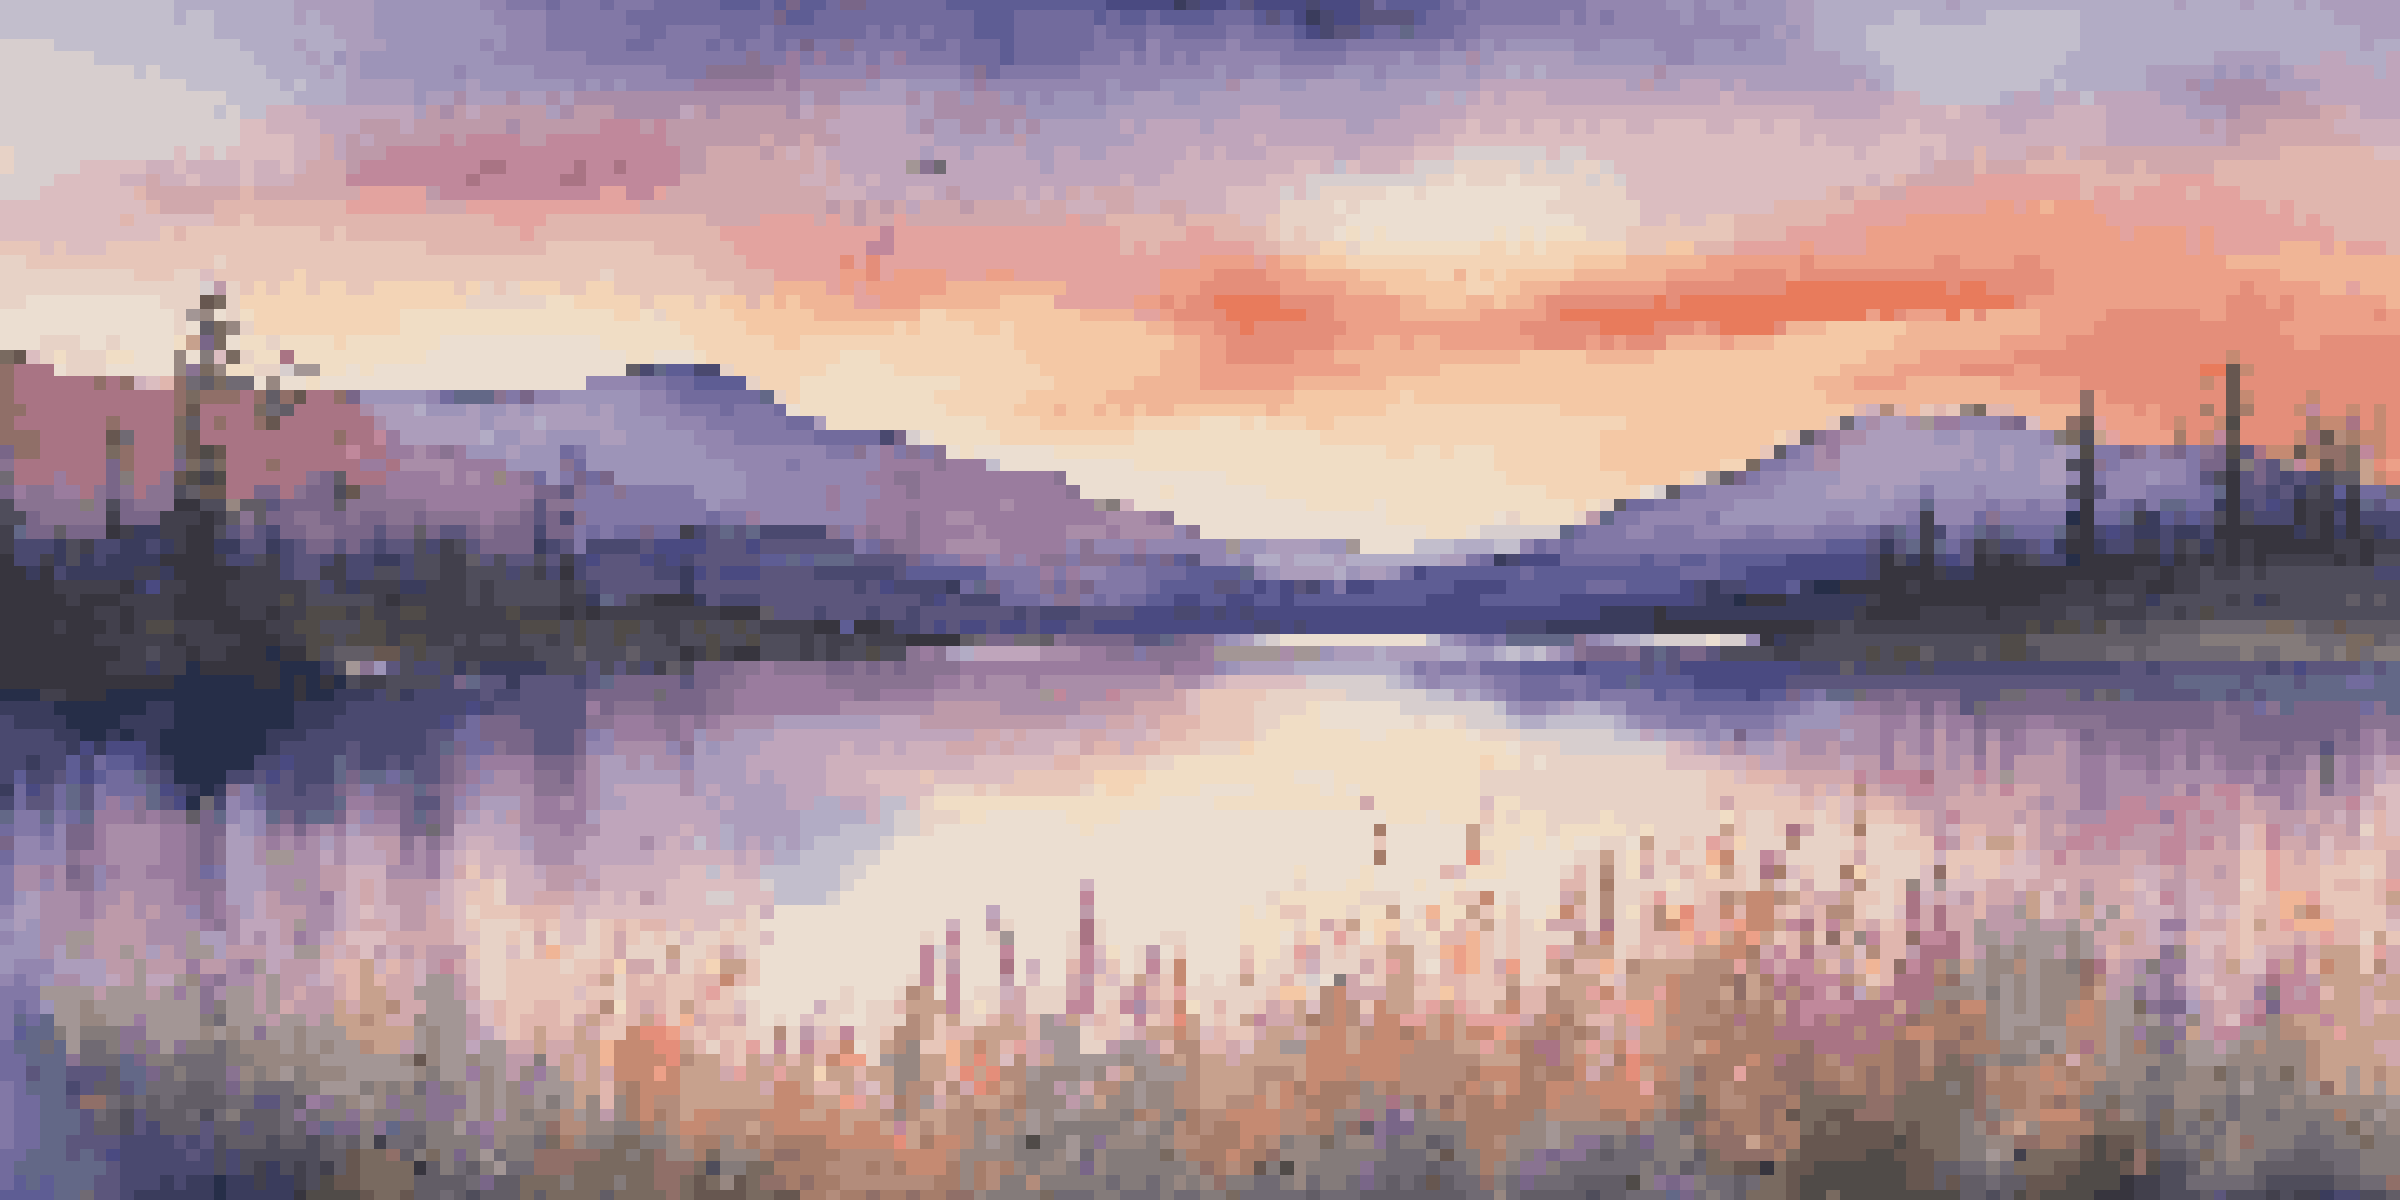
This setting not only affects exposure but also influences the depth of field in your images. A shallow depth of field creates a beautiful blur in the background, helping your subject stand out. Conversely, a greater depth of field keeps more of the scene in focus, which is ideal for capturing stunning landscapes.
As a travel photographer, mastering aperture will enable you to adapt to various environments, whether it’s the dimly lit streets of a city or the expansive vistas of a national park. Experimenting with different apertures will help you find your unique style.
Shutter Speed: Freezing Time in Your Photos
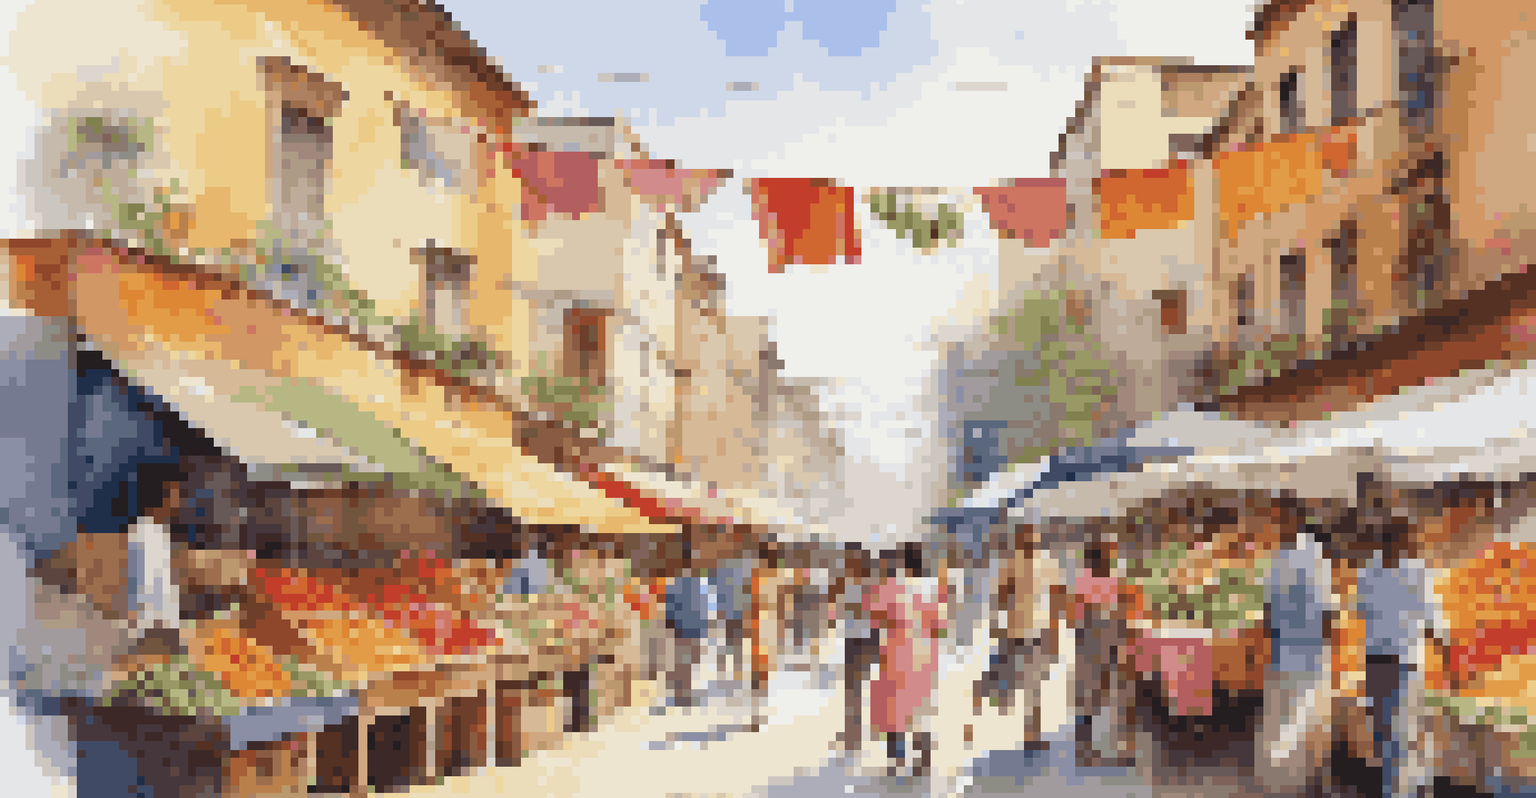
Shutter speed determines how long your camera's shutter remains open to let light in. Imagine it as a blink; a quick blink (like 1/1000 of a second) can freeze fast-moving subjects, while a slower blink (like 1 second) captures movement, creating a blur effect. This is especially useful when photographing dynamic scenes like bustling markets or waterfalls.
Choosing the right shutter speed is crucial for avoiding motion blur. For example, when capturing a moving train, a fast shutter speed will keep the train sharp, while a slower speed might result in a dreamy, blurred effect that conveys motion. Both techniques can enhance storytelling in your travel photos.
Mastering the Exposure Triangle
Understanding how aperture, shutter speed, and ISO work together is essential for achieving the perfect exposure in your photos.
Experimenting with shutter speed allows you to express your creativity, whether you want to capture the vibrant energy of a festival or the serene flow of a river. Understanding how to manipulate this setting will elevate your travel photography significantly.
ISO Sensitivity: The Light Adjuster
ISO measures your camera’s sensitivity to light. A lower ISO (like 100) is ideal for bright conditions, while a higher ISO (like 3200) is essential for low-light situations, like evening street photography. However, increasing the ISO can introduce noise, which may affect image quality.
You don’t take a photograph, you make it.
Think of ISO as the volume knob on your music player; you can turn it up when things are too quiet but risk distortion. Balancing ISO with aperture and shutter speed is key to achieving the perfect exposure in your travel photos, especially when conditions change rapidly.
As a travel photographer, knowing how to adjust ISO will empower you to capture moments that would otherwise be lost in low light. Practice different settings in various environments to find your comfort zone and create stunning images.
The Exposure Triangle: Balancing Light for Great Shots
The exposure triangle consists of aperture, shutter speed, and ISO, and understanding how they interact is vital for achieving the right exposure in your photos. Each element affects the others; for example, if you widen your aperture to let in more light, you may need to increase the shutter speed to avoid overexposure.
Visualize the exposure triangle as a balancing act; if one side goes up, another must come down. This balance allows you to maintain proper exposure while achieving your desired creative effects, such as depth of field or motion blur.
Utilizing White Balance Effectively
Adjusting white balance helps ensure that colors in your photos appear natural under different lighting conditions.
As you travel and encounter various lighting conditions, mastering the exposure triangle will enable you to take control of your photography. With practice, you’ll learn to adjust these settings quickly to seize the moment.
White Balance: Capturing True Colors
White balance adjusts the colors in your photos to ensure they appear natural under different lighting conditions. Different light sources emit varying color temperatures; for instance, sunlight is warmer compared to the cooler light of a cloudy day. Adjusting your white balance can prevent your images from looking overly blue or yellow.
Think of white balance as the filter to your lens; it can enhance or distort the colors in your photos. Whether you’re capturing the vibrant hues of a sunset or the subtle tones of a cityscape, getting the white balance right will make your images more visually appealing.
As you explore new destinations, take the time to experiment with white balance settings. It can transform your photos from ordinary to extraordinary, making them feel more authentic to the viewer.
Focus Modes: Achieving Sharp Images
Understanding focus modes is crucial for ensuring sharp images, especially when photographing moving subjects. Most cameras offer autofocus (AF) modes, such as single-shot AF for still subjects and continuous AF for moving subjects. Choosing the right mode can make all the difference in capturing that perfect shot.
Imagine you’re at a bustling street market, and you want to capture the laughter of a child running by. Using continuous AF allows your camera to track movement, ensuring the subject remains in focus while you adjust your composition.
Choosing the Right Focus Modes
Selecting the appropriate focus mode is crucial for capturing sharp images, especially when photographing moving subjects.
Experimenting with different focus modes will help you adapt to various shooting situations during your travels. With practice, you'll develop a knack for capturing stunning, sharp images, even in the most dynamic environments.
Camera Modes: Finding the Right Setting for Every Scene
Most cameras come equipped with various shooting modes, such as manual, aperture priority, and shutter priority. Each mode serves a purpose; for example, manual mode gives you full control over settings, while aperture priority allows you to set the aperture while the camera adjusts the shutter speed automatically.
These modes can be likened to driving a car; in manual mode, you’re behind the wheel, making all the decisions, while in automatic mode, the car handles some of the work for you. Knowing when to switch between modes can enhance your efficiency and creativity when capturing travel moments.
As you explore new locations, don’t hesitate to experiment with different camera modes. Understanding how each mode works will help you adapt to changing environments and ensure that you capture the essence of your travels.