Essential Editing Tips for Travel Photography
Start with the Right Editing Software for Your Needs
Choosing the right editing software is crucial for any travel photographer. Programs like Adobe Lightroom and Photoshop offer powerful tools for enhancing images, but they come with a learning curve. If you're just starting out, consider user-friendly options like Snapseed or Canva that provide essential editing features without overwhelming complexity.
Photography is the story I fail to put into words.
Each software has its strengths, so it's important to select one that aligns with your editing style and needs. For instance, Lightroom excels in batch processing and is great for managing large photo collections, while Photoshop allows for more intricate edits. Experiment with a few options to find what works best for you, as comfort with the tool can significantly speed up your editing process.
Ultimately, investing time in learning your chosen software will pay off in the quality of your final images. As you grow more confident, you'll discover unique ways to express your travel experiences through editing, enhancing the stories behind each photograph.
Organize Your Photos Before Editing
Before diving into editing, take a moment to organize your photos. This means sorting through images and selecting the best shots that capture the essence of your travels. Creating folders based on locations or events can make the editing process much smoother, allowing you to focus on the most impactful images.
Consider using rating systems or tags to identify your favorite photos quickly. Many editing software programs allow you to add flags or star ratings, making it easier to filter through your collection later. This pre-editing organization saves time and helps you hone in on the images that truly deserve your attention.
Choose the Right Editing Software
Selecting software that matches your skill level and editing style can significantly enhance your travel photography experience.
In travel photography, the story matters, so organizing your photos helps you maintain a narrative. It allows you to reflect on the emotions and experiences you want to convey, ensuring your edits enhance rather than distract from the journey you’re sharing.
Adjust Exposure and Contrast for Impact
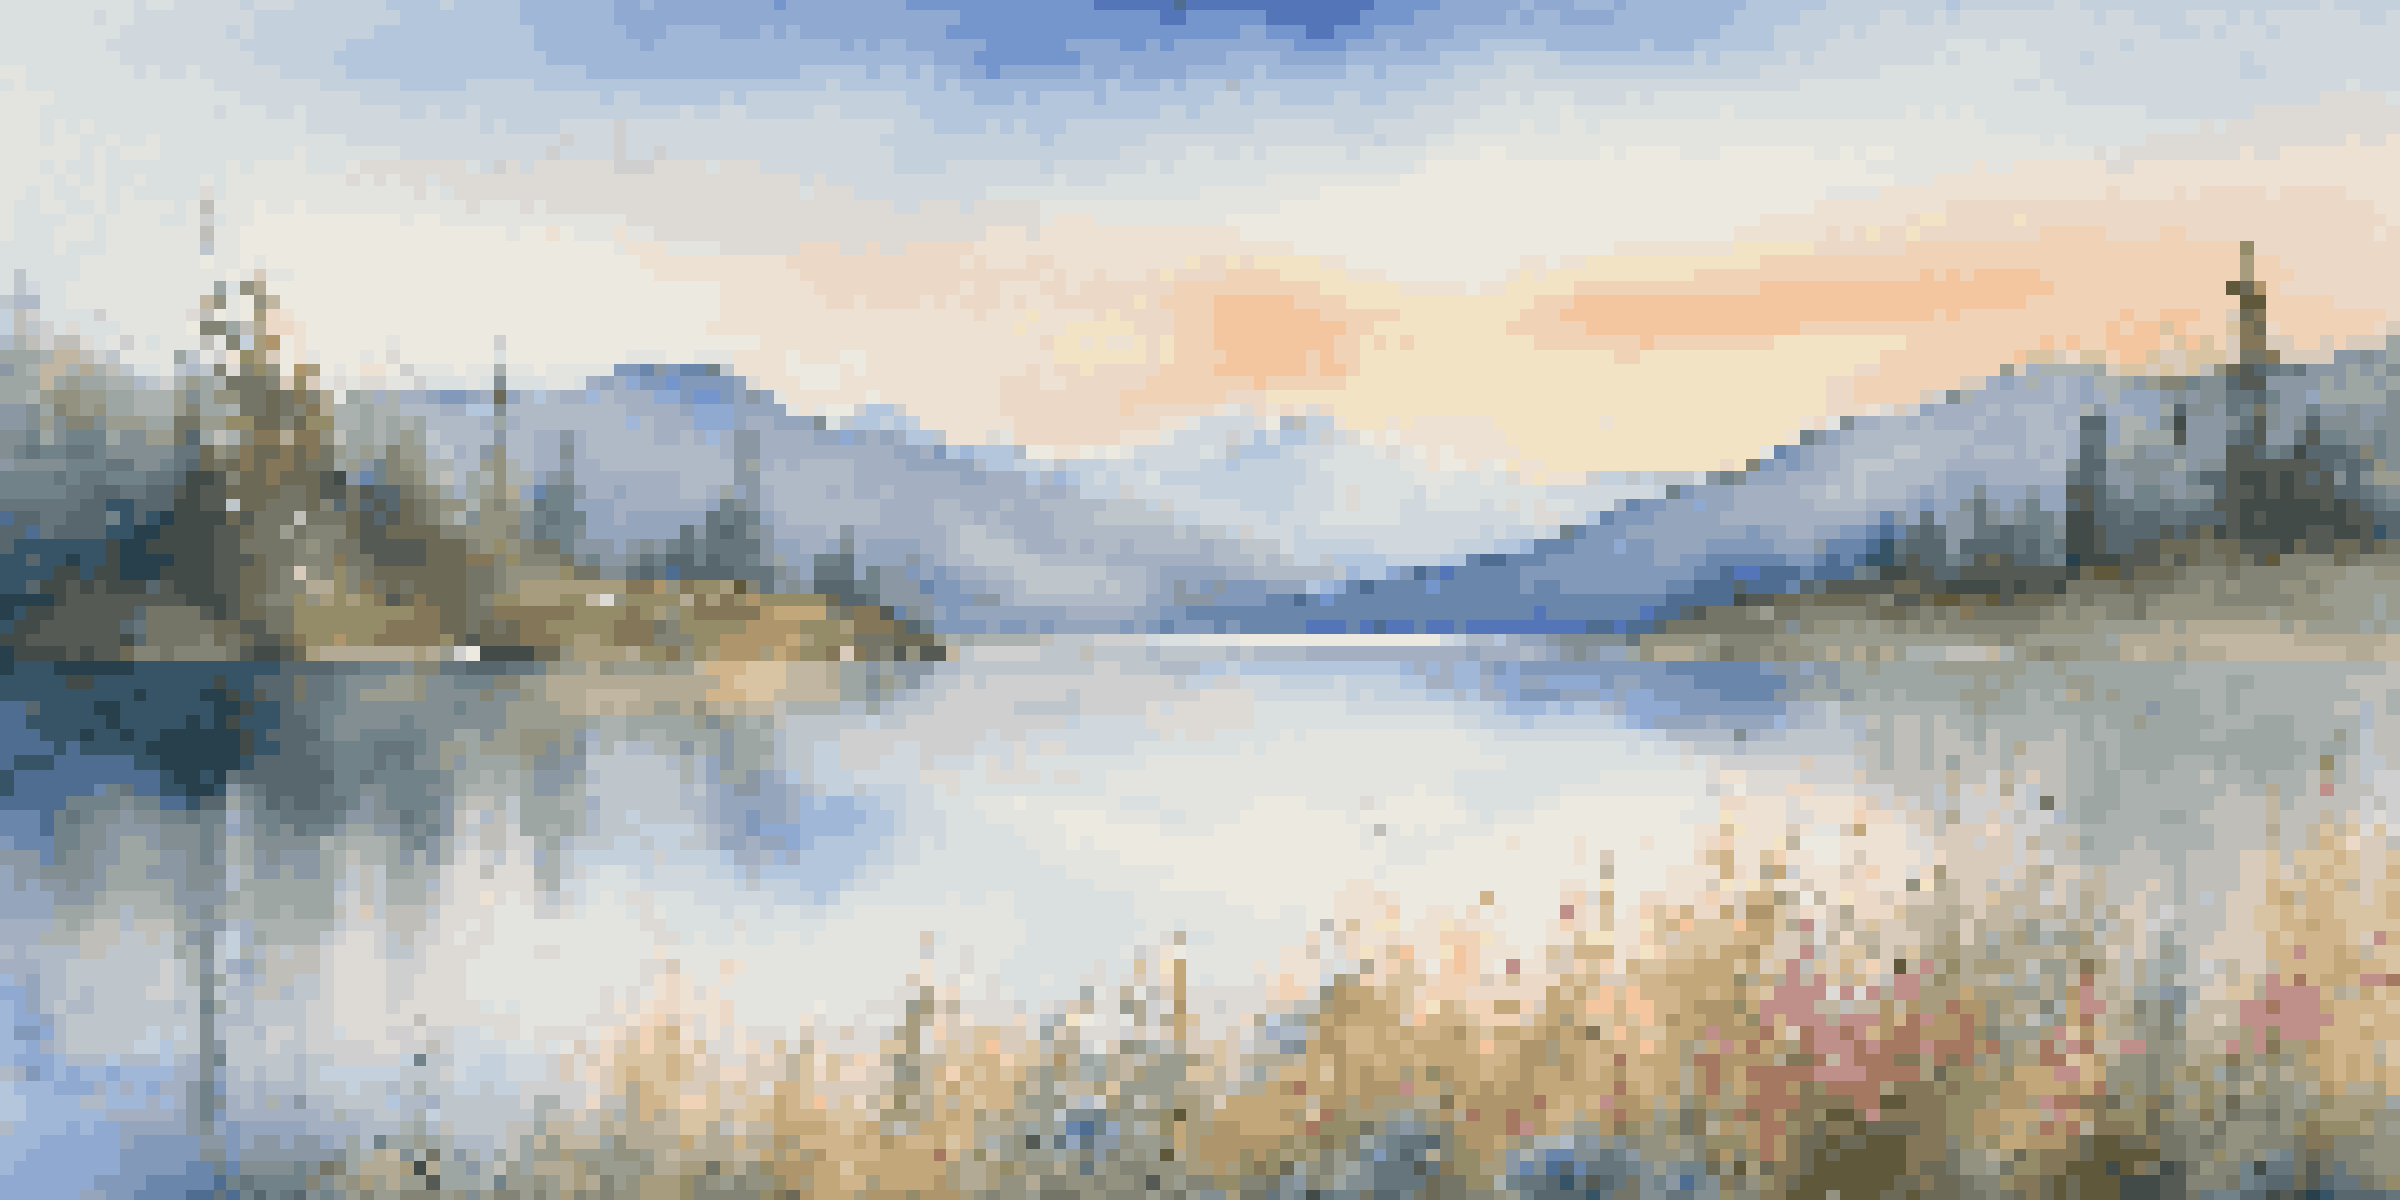
One of the first steps in editing is adjusting exposure and contrast to make your images pop. If a photo appears too dark or too bright, tweaking the exposure can bring out details that might otherwise be lost. Aim for a balanced exposure that highlights the beauty of your subject while maintaining the overall mood of the image.
The best camera is the one you have with you.
Contrast plays a critical role in adding depth to your photos. By increasing contrast, you can enhance the distinction between light and dark areas, making your images more dynamic. However, be cautious not to overdo it; too much contrast can lead to loss of detail in both highlights and shadows.
As you adjust exposure and contrast, visualize how these changes affect the story you want to tell. A well-exposed image with the right contrast can evoke emotions and draw viewers in, making them feel like they're experiencing the destination right alongside you.
Use Color Correction to Enhance Your Images
Travel photography often captures vibrant scenes, but sometimes colors may not translate accurately due to lighting conditions. Color correction is essential for achieving true-to-life hues that resonate with viewers. Adjusting white balance can eliminate unwanted color casts and bring a more natural feel to your images.
Experiment with saturation and vibrancy to make your colors stand out without appearing unnatural. While saturation boosts all colors equally, vibrancy selectively enhances less saturated colors, allowing for a more balanced look. Finding the right balance between these adjustments can breathe life into your travel photos.
Organize Photos for Efficient Editing
Organizing your images before editing allows you to focus on the most impactful shots, streamlining your workflow.
Remember, the goal of color correction is to enhance the viewer's experience, not to mislead them. Authenticity in your travel photography helps viewers connect with the locations and cultures you’ve captured, creating a more engaging narrative.
Cropping and Framing for Better Composition
Cropping is a powerful tool in photo editing that can dramatically improve composition. By removing distractions from the edges of your images, you can draw attention to the main subject. Consider the rule of thirds as a guideline; positioning your subject off-center can create a more visually appealing balance.
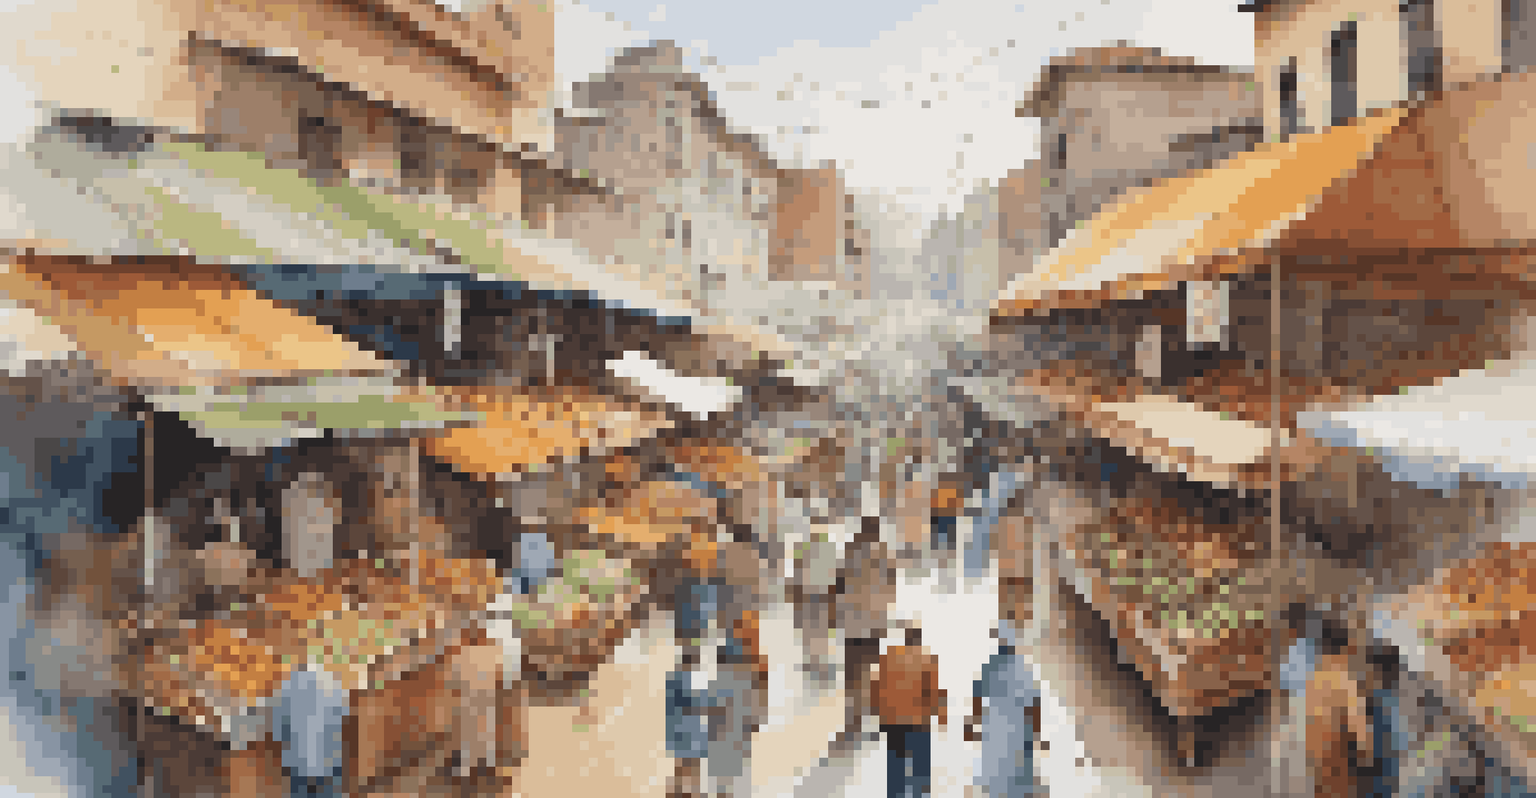
Framing your subject within the context of its environment can also add layers to your storytelling. For instance, if you're photographing a bustling market, framing the scene to include surrounding elements helps convey the atmosphere. This technique invites viewers to step into the scene, making them feel part of the experience.
Always keep in mind that editing is an opportunity to refine your vision. Cropping allows you to focus on the essence of the moment, ensuring that your travel photography communicates the story you wish to tell.
Sharpening Your Images for a Polished Finish
Sharpening is a vital step in the editing process that enhances detail and clarity in your photos. It’s essential to apply sharpening subtly; over-sharpening can lead to an unnatural appearance and create unwanted artifacts. Most editing software provides sliders to control the amount of sharpening, so take your time to find the right level.
Additionally, sharpening can be particularly beneficial for travel photography, where textures—like the roughness of a mountain or the intricate details of a building—play a significant role in the image’s impact. By enhancing these details, you can elevate the visual storytelling within your photographs.
Enhance Images with Key Adjustments
Adjustments like exposure, contrast, and color correction are essential for making your travel photos more vivid and engaging.
As a final touch, remember to zoom in and check your sharpening at 100% to ensure the details remain crisp without compromising the overall quality. A well-sharpened image will stand out and leave a lasting impression on your audience.
Applying Filters and Presets for Consistency
Filters and presets are excellent tools for achieving a consistent look across your travel photography. They can save time by applying a cohesive style to a series of images, making your portfolio visually appealing. However, be mindful of overusing filters, as they can sometimes detract from the authenticity of your photos.
Experiment with different filters to find those that complement your style while enhancing the mood of your images. For instance, a warm filter might evoke feelings of nostalgia, while a cooler tone could convey serenity. The right filter can help amplify the story you want your photos to tell.

Using presets can also streamline your workflow, especially when dealing with large batches of photos. You can create your own or find presets from reputable photographers that align with your vision. Just remember to adjust each image individually to suit its unique characteristics.
Final Touches: Vignetting and Borders
Adding a subtle vignette can focus attention on your subject by darkening the edges of the photo. This technique draws the viewer’s eye toward the center, enhancing the overall composition. However, moderation is key; an overly dark vignette can make the image feel heavy and detract from its beauty.
Borders can also add a professional touch to your travel photos, helping them stand out when shared online. They provide a clean and polished look, especially on platforms like Instagram. Choose borders that match your style, whether minimalist or ornate, to elevate your presentation.
As you apply these final touches, take a step back and review your work. Ensure that each element contributes to the story you wish to convey, creating a cohesive and engaging visual narrative that reflects your travel experiences.