Night Sky Photography in National Parks: A Beginner's Guide
Understanding Night Sky Photography Basics
Night sky photography is all about capturing the beauty of the stars, planets, and even the Milky Way. It requires a basic understanding of how cameras work in low light conditions, including exposure time, aperture, and ISO settings. These elements come together to help you capture those breathtaking celestial moments.
The night sky is a miracle of infinitude.
Before heading into the wild, familiarize yourself with your camera's manual settings. This knowledge will empower you to make adjustments on-the-fly, which is crucial when dealing with the ever-changing conditions of the night sky. Think of your camera as an extension of your eye, allowing you to see and capture what your own eyes cannot.
Additionally, consider investing in a sturdy tripod, as stability is key for long exposure shots. The last thing you want is a shaky image that doesn't do justice to the beauty above. A remote shutter release can also be helpful to prevent any camera shake when you take the shot.
Choosing the Right National Park for Night Photography
Not all national parks are created equal when it comes to night sky photography. Some parks have more light pollution than others, which can hinder your ability to see the stars clearly. Research parks that are designated as Dark Sky Parks, where light pollution is minimal, providing you with the best views of the cosmos.
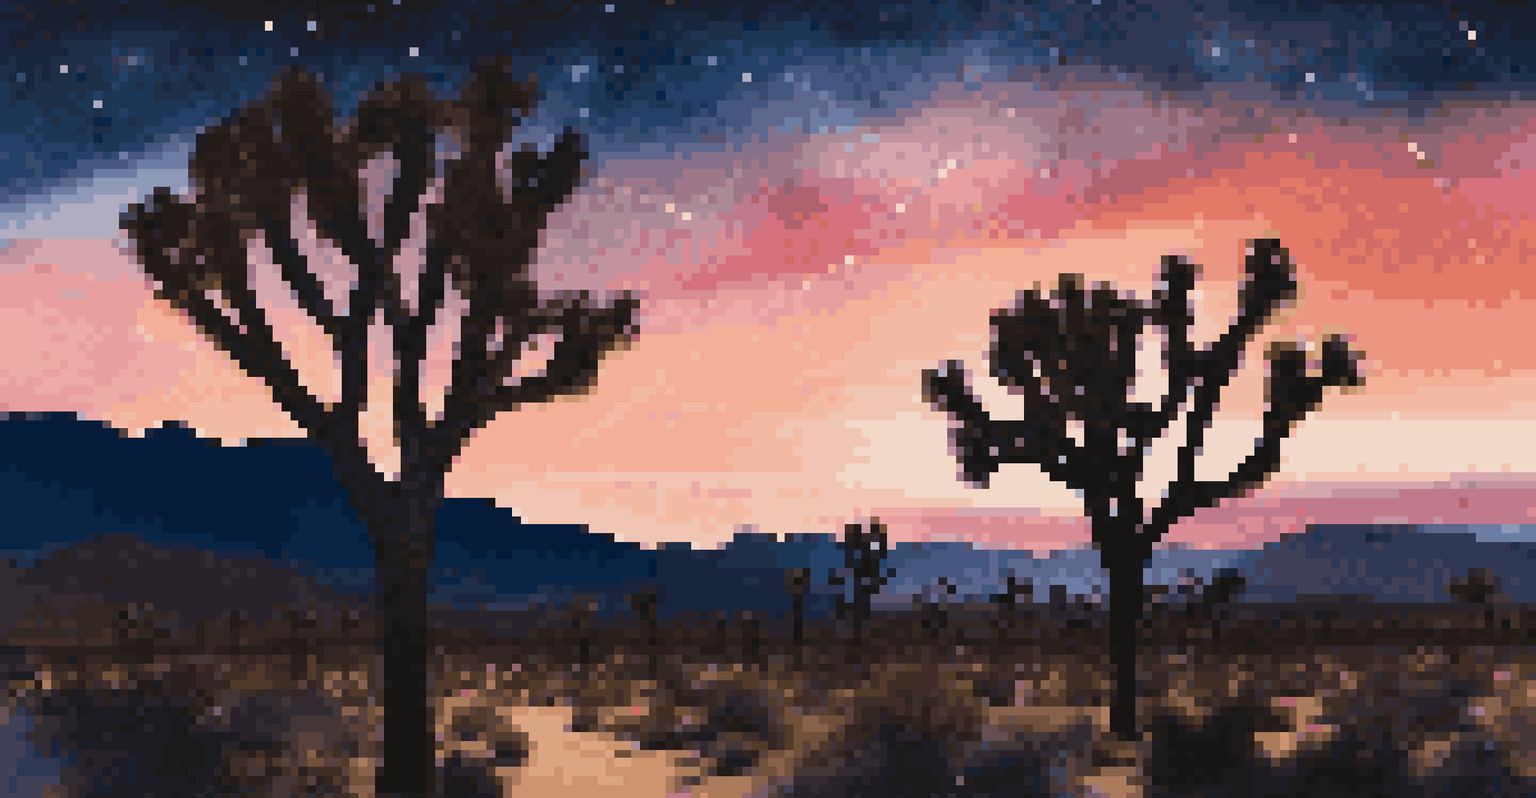
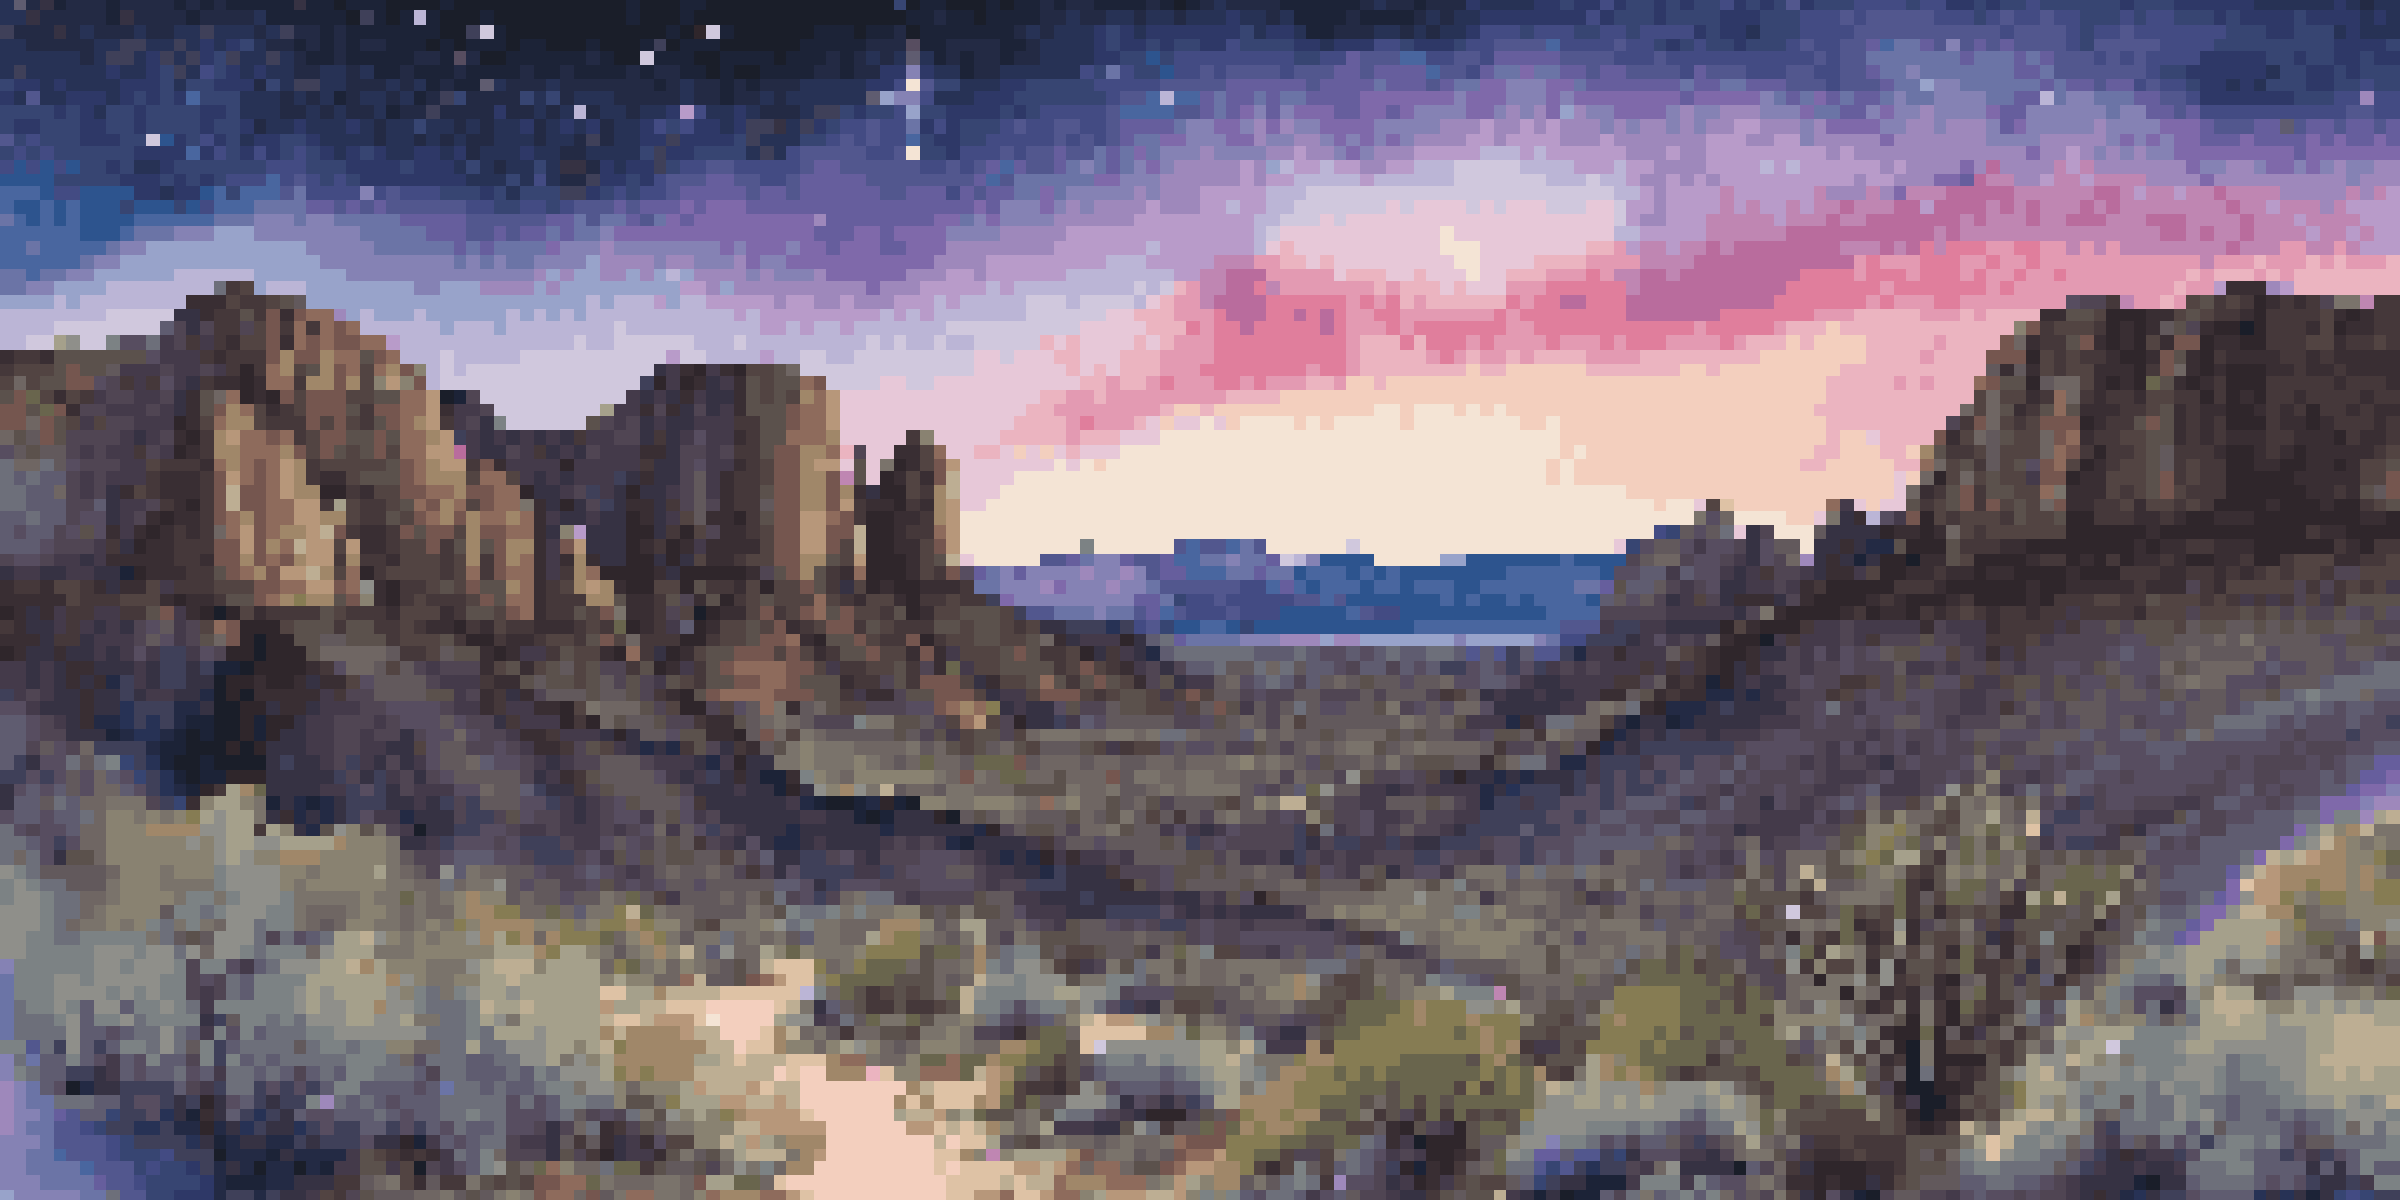
A few notable options include Big Bend National Park in Texas and Joshua Tree National Park in California. These locations not only offer stunning landscapes but also some of the clearest night skies in the country. Imagine standing under a blanket of stars, with only the sounds of nature around you—it's an experience like no other.
Master Your Camera Settings
Understanding and experimenting with ISO, exposure time, and aperture is crucial for capturing stunning night sky images.
Remember to check the moon phase as well. A new moon is ideal for capturing the night sky, as it minimizes light interference. Planning your trip around these natural cycles can significantly enhance your photographic opportunities.
Essential Gear for Night Sky Photography
Having the right gear can make or break your night sky photography experience. At a minimum, you will need a DSLR or mirrorless camera capable of manual settings. A wide-angle lens is also crucial, as it allows you to capture more of the sky in one shot, creating stunning panoramic visuals.
In every walk with nature one receives far more than he seeks.
A sturdy tripod is essential for stabilizing your camera during long exposure shots. Additionally, a lens with a large aperture (like f/2.8 or wider) will let in more light, which is key for nighttime photography. Don’t forget extra batteries and memory cards; cold weather can drain battery life faster than you’d expect.
Lastly, consider bringing along a flashlight with a red filter. This will help you navigate in the dark without ruining your night vision. It’s the little things that can make your photography session more enjoyable and productive.
Mastering Camera Settings for Night Photography
Understanding camera settings is vital for achieving stunning night sky images. Start with a low ISO setting (around 800 to 1600) to reduce noise in your photos. Experimenting with exposure times, typically between 15 to 30 seconds, will help you capture the light from stars without causing star trails.
Set your aperture to the widest setting possible to allow in as much light as you can. This will help you capture the faintest of stars. Remember, too much light can wash out your image, so balance is key. It’s all about finding the sweet spot for each shot.
Choose Dark Sky Locations
Selecting national parks designated as Dark Sky Parks will enhance your ability to photograph the stars clearly and beautifully.
Taking test shots and adjusting your settings on the go is part of the learning process. Don’t be afraid to experiment! Each night provides different conditions, and adapting to those conditions will enhance your skills and results.
Planning Your Night Sky Shoot: Timing Is Everything
Timing your shoot can be just as important as your gear and settings. The best time for night sky photography is often during the hours between sunset and sunrise, particularly on clear nights. A well-timed visit can mean the difference between capturing a stunning sky and a washed-out image.
Check weather forecasts and lunar phases before you head out. Clear skies are ideal, but you also want to avoid nights with a full moon, which can drown out the stars with its brightness. The days leading up to a new moon are often the best times to photograph the night sky.
Arrive at your chosen location early to set up and familiarize yourself with the surroundings. This not only allows you to get comfortable but also gives you time to capture some twilight shots, which can be beautiful in their own right.
Post-Processing Your Night Sky Images
Post-processing is where you can enhance your night sky photographs to truly make them pop. Software like Adobe Lightroom or Photoshop can help you adjust brightness, contrast, and colors to bring out the details in the stars. It's like adding the final touches to a masterpiece.
Start by adjusting the exposure and contrast to make the stars stand out against the dark sky. You can also play with the color temperature to enhance the blues and purples of the night sky, making it more visually striking. Remember, subtlety is key—over-editing can lead to unnatural results.
Plan for Optimal Timing
Timing your shoot around new moons and clear nights can significantly impact the quality of your night sky photography.
Don’t forget to crop your images if necessary, focusing on the most compelling parts of your shot. Sharing your final images on social media or photography forums can also provide valuable feedback and encourage you to keep improving your skills.
Tips for Capturing the Milky Way and Other Celestial Events
Capturing the Milky Way requires a bit of planning, but the results can be spectacular. The core of the Milky Way is most visible during certain months, typically from late spring to early fall, depending on your location. Use apps like Star Walk or SkySafari to track its position in the sky.
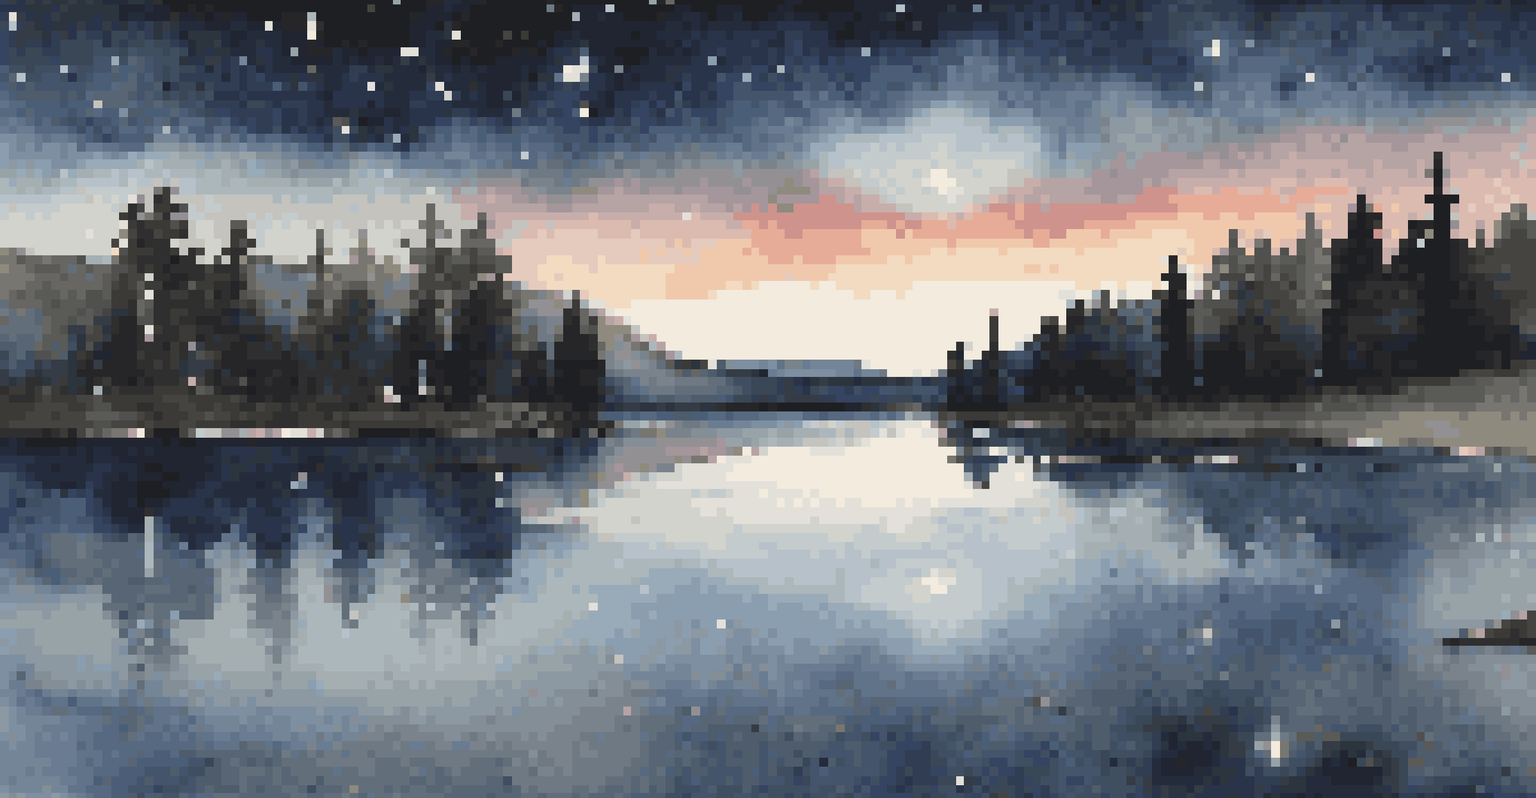
When planning to capture the Milky Way, ensure you're at a location with minimal light pollution and a clear horizon. Having interesting foreground elements, like trees or mountains, can add depth to your photos and create a more balanced composition.
Keep an eye out for other celestial events, such as meteor showers or eclipses. These can provide unique opportunities for stunning photographs that go beyond the typical night sky shots. Being prepared for spontaneous moments can lead to some of your best work.