Best Camera Settings for Stunning Travel Photography
Understanding Exposure: The Key to Great Photos
Exposure is the foundation of photography, determining how light or dark your photos appear. It involves three main elements: aperture, shutter speed, and ISO. When these settings are well balanced, you can capture vibrant images that truly reflect the beauty of your travels.
Photography is the story I fail to put into words.
Think of exposure like a recipe; each ingredient has to be just right. If your photo is too bright, it can lose detail, while a photo that's too dark can obscure the beauty of the scene. To get it just right, you often need to experiment, especially in varying light conditions.
As you travel, keep an eye on how the light changes throughout the day. The golden hour, just before sunset or after sunrise, offers soft, warm light that can make your images pop. Adjust your settings accordingly to make the most of this magical time.
Aperture: Control Depth of Field in Your Shots
Aperture refers to the opening in your lens and controls how much light hits the camera sensor. It’s measured in f-stops, with lower numbers allowing more light and creating a shallow depth of field. This is perfect for portraits or isolating subjects against a blurred background.
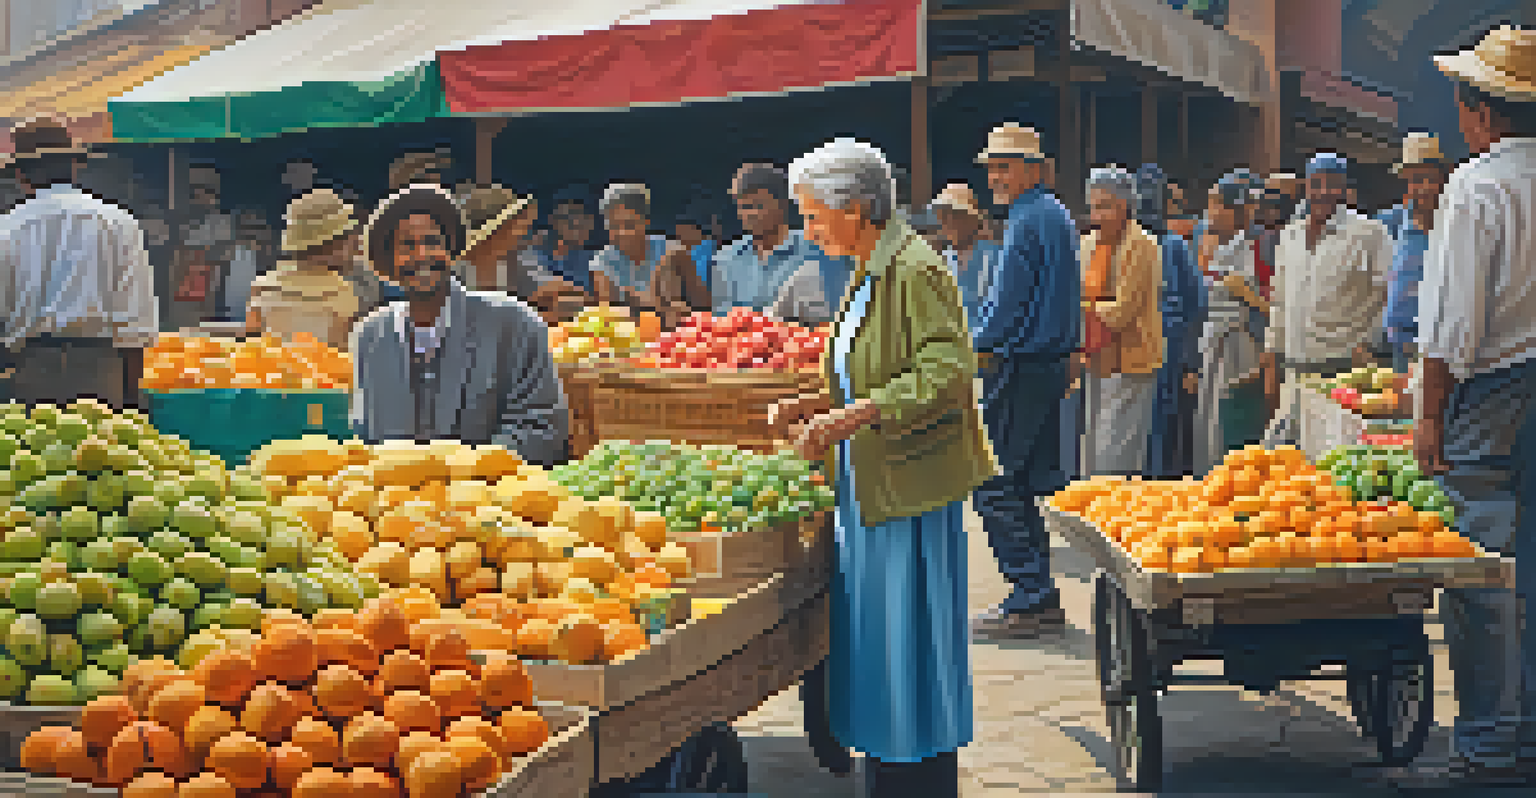
Imagine you're at a bustling market, and you want to focus on a vendor while softly blurring the crowd behind them. A wide aperture like f/2.8 can help achieve this, making your subject stand out beautifully. Conversely, a higher f-stop like f/11 will keep more of the scene in focus, ideal for landscapes.
Master Exposure for Stunning Photos
Balancing aperture, shutter speed, and ISO is essential for capturing vibrant images that reflect your travel experiences.
Understanding how to manipulate aperture can dramatically elevate your travel photography. Experiment with different f-stops to see how they affect the story your photos tell.
Shutter Speed: Freezing Motion or Creating Blur
Shutter speed controls how long your camera's sensor is exposed to light. A fast shutter speed (like 1/1000 second) can freeze motion, making it great for action shots, while a slower speed (like 1/30 second) can create beautiful motion blur, adding a sense of movement.
The best camera is the one you have with you.
Picture yourself capturing a dancer in motion or waves crashing on the shore. Using a fast shutter speed will allow you to freeze those dynamic moments, while a slower speed can give your photos a dreamy, fluid feel.
To avoid blurry shots from camera shake at slower speeds, consider using a tripod or stabilizing your camera against a solid surface. This simple step can make a significant difference in the clarity of your images.
ISO: Adapting to Different Lighting Conditions
ISO measures your camera's sensitivity to light. A lower ISO (like 100) is best for bright conditions, while a higher ISO (like 1600 or more) is necessary for low-light situations. However, increasing ISO can introduce noise, so it's a balancing act.
Imagine shooting in a dimly lit café on a rainy day. A higher ISO allows you to capture the ambiance without using a flash, which can be intrusive. However, be mindful of the graininess that can come with higher settings.
Use Composition for Impact
Applying techniques like the rule of thirds and leading lines can significantly enhance the visual appeal of your photographs.
As you travel, pay attention to your surroundings and adjust your ISO accordingly. This flexibility will help you capture stunning images in any environment.
White Balance: Capturing True Colors
White balance ensures that colors in your photos appear natural and true to life. Different light sources, like sunlight or fluorescent bulbs, can cast various color tints. Adjusting your white balance settings can help eliminate these unwanted hues.
Think of white balance as the filter that helps your images look more like what your eyes see. If you're shooting under warm, golden light, your photos might appear too yellow. By adjusting the white balance, you can restore the natural colors of the scene.
Most cameras have preset options like 'Daylight,' 'Cloudy,' or 'Tungsten' that you can choose from. Familiarize yourself with these settings to ensure your travel photos reflect the vibrant colors of your experiences.
Focus Modes: Choosing the Right Technique
Understanding focus modes is crucial for capturing sharp images. Most cameras offer options like single autofocus (AF-S) for stationary subjects and continuous autofocus (AF-C) for moving subjects. Choosing the right mode can make all the difference.
For a scenic landscape, AF-S will work perfectly, ensuring that everything from the foreground to the background is sharp. However, if you're photographing wildlife or a bustling street scene, AF-C helps keep your subject in focus as they move.
Post-Processing Enhances Images
Careful post-processing can elevate your travel photos by adjusting exposure and color, but should be done without losing authenticity.
Experimenting with different focus modes will give you more versatility in your travel photography, allowing you to adapt to the dynamic environments you encounter.
Composition Techniques: Framing Your Shots
Composition is about how you arrange elements in your frame to create visually appealing photos. Techniques like the rule of thirds, leading lines, and framing can help guide the viewer's eye and add depth to your images.
For instance, using the rule of thirds involves dividing your frame into a grid and placing your subject along those lines or at their intersections. This simple adjustment can create more balanced and engaging photographs.

As you travel, take a moment to consider your composition before snapping the shot. A little thought can transform a good photo into a stunning one.
Post-Processing: Enhancing Your Travel Photos
Post-processing is the final touch that can elevate your travel photos even further. Using software like Adobe Lightroom or Photoshop, you can adjust exposure, contrast, and colors to enhance the overall look of your images.
Think of post-processing as the icing on the cake. While the cake (your photo) is delicious on its own, the icing can enhance its appearance and flavor. A little adjustment here and there can turn a great shot into a breathtaking one.
However, it’s essential to strike a balance; over-editing can detract from the authenticity of your photo. Aim for enhancements that maintain the genuine feel of your travel experience.